How to Run Solar Wires Through Fiberglass RV Roof | Steps I Follow
Installing solar panels on your RV roof can be tricky business! Fiberglass is super delicate and you gotta be really careful drilling holes through it. Trust me, I’ve cracked a few panels in my day rushing through things. The key is taking it slow with the proper drill bits and seals. Otherwise, you’ll end up with leaks and damage faster than you can say “water infiltration.” But have no fear! Follow my advice in this handy guide and you’ll be harnessing the power of the sun in no time.
I’ll walk you through the full process from start to finish. Solar panels can give your RV electrical system a big boost if you get the installation right on that finicky fiberglass roof. Let’s get started!
Step 1 – Route Planning
The first step is planning where and how the wires will run from the roof solar panels to the batteries and electrical system inside the RV. Consider the following:
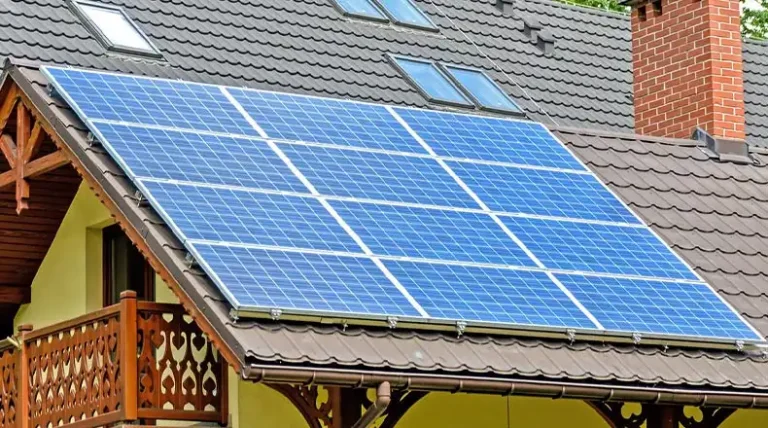
- Where the solar panels will be mounted on the roof – they should be in an area with good sun exposure that does not conflict with skylights, vents, or other roof protrusions. Allow several feet around panels for access.
- Inside the RV, identify the general path for routing the wires from the roof entry point to the batteries/electrical system area. Avoid obstructions like cabinetry or appliances.
- Measure the distance for the wire runs, adding several extra feet to provide slack.
- Decide if you’ll run the wires through a conduit sleeve for extra protection. If so, measure how much length is needed.
- The roof entry point should be near the solar panels, but not directly under them.
- Consider coming through the interior roof near a cabinet or other structure that can hide the penetration.
Step 2 – Gathering Tools and Materials
Before going up on the roof, gather all the necessary tools and materials:
Tools:
- Drill with step drill bits (fiberglass-suitable)
- Wire strippers/cutters
- Grommet or cable gland (sized to match cable diameter)
- Weatherproof sealant (marine sealant, butyl tape)
- Cable conduit (optional)
- Measuring tape and marker
- Safety glasses and gloves
Materials:
- Solar wires or cables (sized for system output)
- Butyl tape
- Electrical tape
- Cable ties
- Shop rags
The key tools are a high-quality step drill bit set designed for boring clean holes in fiberglass and a rubber grommet or cable gland to protect the wires at the penetration point while sealing out water. Gather everything needed for sealing, routing, and securing the solar cables before working on the roof.
Step 3 – Finding the Entry Point
On the roof, find the planned entry location for the solar wires. Make sure there is a clear path between the solar panels’ mounting location and the entry point so the wires can be easily pulled through.
Use a measuring tape to measure over from reference points like vents or skylights to mark the exact penetration spot with a marker. Double-check all measurements before drilling to avoid mistakes.
Consider using masking tape to map out the path the conduits or wires will take along the roof between the solar panels and the entry point.
Step 4 – Drilling the Hole
Once the entry point is marked, put on safety glasses and gloves before operating the drill. Use step drill bits suitable for fiberglass to slowly bore the hole. Go slowly with steady pressure to cut a clean hole.
The hole diameter should match the size of the grommet or cable gland you are using to protect the wires. Follow any specifications provided to drill the correct hole size.
For example, a 1/2″ grommet may require a 5/8″ to 3/4″ hole. Make sure you drill perpendicular to the roof surface so the hole does not come out at an angle.
Clean around the hole thoroughly with a rag once drilled. Debris can interfere with achieving a watertight seal.
Step 5 – Installing Grommet or Cable Gland
To protect the wires from abrasion and seal out water, install a rubber grommet or plastic cable gland fitting secured in the drilled hole. Lubricate the edges of the grommet with a sealant if needed to ease insertion.
Press the grommet fully and evenly into the hole. There should be no gaps between the edges and the roof surface. Tighten the retaining nut on a cable gland until the rubber seal is snug against the roof.
If the fit is loose in the hole, build up extra sealant around the edges to prevent water intrusion. The grommet or gland must seal tightly with the roof surface to prevent leaks.
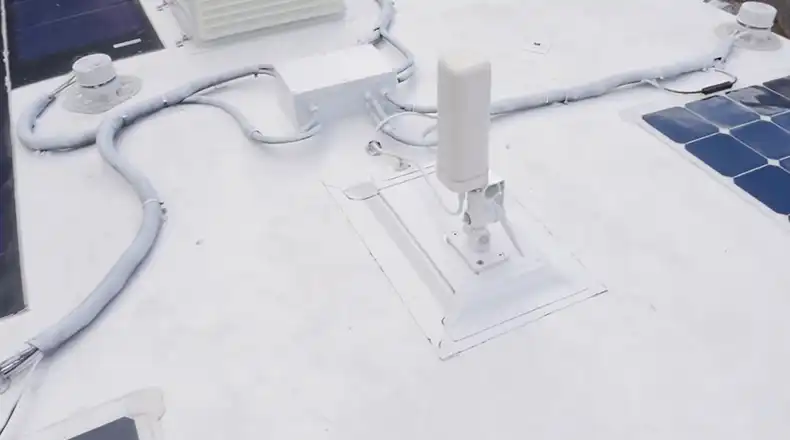
Step 6 – Running the Wires
Before pulling wires, prep the interior entry point of the roof penetration. If the wires will run through surface-mounted conduit, secure conduit ends around the opening.
If wires will run free, build up sealant around the hole’s interior side. Butyl rubber sealant tape is a good option, molded fully around the opening.
Gather the solar wires at the roof-mounted solar panels. Tape wire ends to help feed through the grommet. Pull steadily but gently to avoid damage. Leave plenty of extra slack in the wires.
For a multi-wire cable, the number wire ends with tape to identify polarity when connecting inside. Pull all wires through the entry point, coiling extra lengths near the opening.
Seal any conduit ends and wire openings with silicone or other flexible, waterproof sealant. Use tape and cable ties to organize and secure the wires as needed near the opening.
Step 7 – Sealing the Entry Point
Once wires are routed, thoroughly seal the exterior opening around the grommet or cable gland. Butyl tape and marine sealant work well for this purpose.
Build up ample waterproof sealant around the grommet or cable gland base where it seats against the roof surface. Make sure no gaps or cracks are left where moisture can intrude.
Smooth and shape the sealant with a putty knife or finger, forming a gentle slope away from the opening so water drains off.
Let the sealant fully cure based on product instructions before exposing to weather. Check after the first few rainfalls and repair any new gaps or cracks in the seal.
Step 8 – Finishing Touches
Inside the RV, route and secure the solar wires from the roof opening to the electrical system area. Leave slack for adjustments.
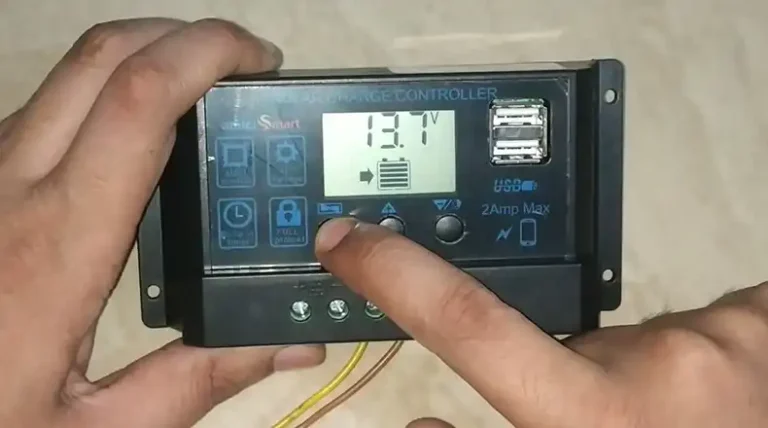
Use wire ties, hooks, conduits, or other means to anchor the cables along the path. Hide cables behind interior panels or structures where possible. Connect to batteries, controller, and distribution panel.
Confirm all interior seals are tight and add sealant or tape if any gaps are found around wire openings. Verify no debris was left on the roof from the work that could clog drains or vents.
Finally, test the solar system thoroughly before regular use. Monitor roof seals closely over the first few excursions to ensure no moisture issues arise from the penetrations.
With care taken in planning, sealing, and routing, solar wires can be safely passed through the fiberglass roof to harness the free power of the sun. Proper installation will provide many years of reliable clean energy.
Key Challenges Working on a Fiberglass RV Roof
Working on the fiberglass roof of an RV presents some unique challenges compared to other materials. Care must be taken to avoid damaging the fragile fiberglass surface or compromising the critical watertight seals.
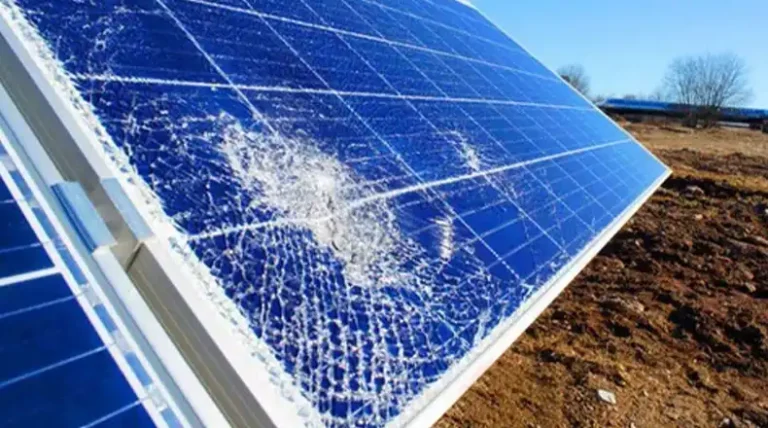
Fiberglass is a delicate material
Fiberglass is made of extremely fine glass fibers suspended in resin. While strong for its weight, it can crack or splinter if drilled or cut improperly. The brittle glass fibers have little elasticity or forgiveness compared to materials like metal. Using high RPM tools or dull bits is likely to fracture the material rather than cutting cleanly through it. Specialized drill bits like step bits are designed to gradually grind through the fiberglass without causing excessive damage. Rushing the work or applying too much pressure can also cause cracks or chips in the roof. This can lead to premature leaks or deterioration. Fiberglass requires patience and the right techniques to alter or penetrate without causing harm.
Maintaining water tightness is crucial
Fiberglass RV roofs must remain completely watertight to avoid moisture issues within the living space. Unfortunately, simply drilling a hole or running wires through the existing seal compromises that integrity. Without comprehensive sealing around any penetrations, water will inevitably find a way to cause anything from minor leaks to major rotting and mold over time. Careful planning and extensive use of durable sealants is mandatory when working on a fiberglass roof. Every gap or crack around introduced parts like grommets or bolt holes must be thoroughly filled and sealed with the appropriate materials. One small overlooked entry point for water can eventually lead to saturation and thousands in interior damage. Great care must be taken to maintain impermeability anytime the roof’s fiberglass shell is compromised.
Working on an angled surface can be awkward and uncomfortable
Most RVs have a substantially curved or angled fiberglass roof to facilitate drainage. This contour makes moving around and working for long periods much more tiring and precarious than on flat surfaces. Bending over constantly strains the back and knees. Finding secure footing while trying to apply controlled force is a constant challenge. Care must be taken to avoid slipping and falling, especially with power tools in hand. Angled surfaces also make it harder to ensure holes are drilled straight and seals sit flush without gaps. The complex geometry requires extra attention when cutting or drilling to ensure precision. Good traction footwear, kneeling pads, and ergonomic positioning are key to maintaining stability and accuracy while operating on the inclined roof surface. Patience and care pay dividends when trying to compensate for the continuous angle.
To Sum Up
Installing solar on an RV roof to harness renewable energy requires carefully sealing any penetrations needed for wiring. With thoughtful planning and the right materials and tools, the installation can be completed successfully without risk of leaks or damage. Taking a slow, meticulous approach is key. If issues do arise down the road, resealing and confirming good wire strain relief can often resolve them. With the right solar setup, RVers can enjoy years of free power while touring under the sun.