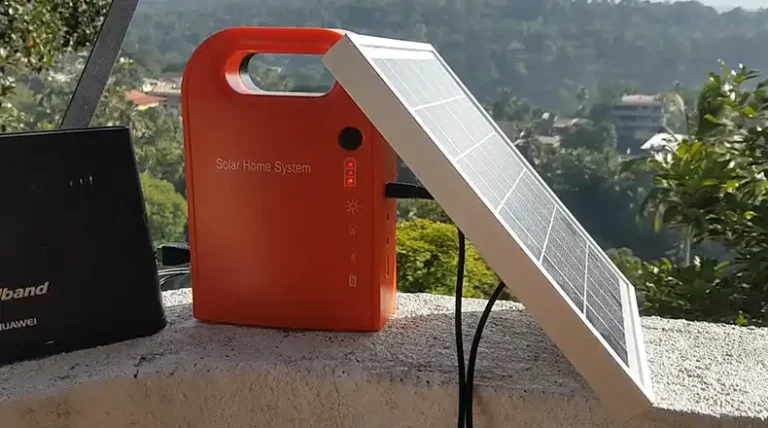
Why Isn’t My Ring Solar Panel Charging? 5 Solutions I Found
We all know the convenience and security Ring devices bring to our homes. The Ring Solar Panel, designed to keep your Ring devices charged up, should make life even easier. However, there’s a common concern: “Why isn’t my Ring Solar Panel charging?”
In a nutshell, multiple factors ranging from installation location to potential hardware issues can affect the charging efficiency of your Ring Solar Panel.
Don’t fret! Dive into this guide, and we’ll walk you through the various reasons and solutions to get your Ring Solar Panel back in action.
My Ring Solar Panel Not Charging Potential Causes and Fixes
Here are the most common causes of Ring Solar panels:
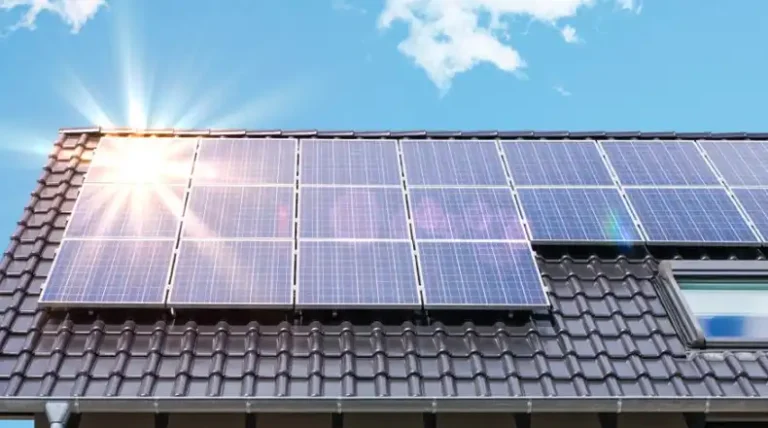
Suboptimal Placement: If your Ring Solar Panel is in a shaded area or not angled correctly, it might not catch enough sunlight to charge efficiently.
Dirt and Debris: Over time, dust, bird droppings, or leaves can accumulate on the panel’s surface, reducing its sunlight absorption capacity.
Faulty Cables or Connections: A damaged cable or a loose connection can disrupt the power transfer from the solar panel to your Ring device.
Cloudy or Short Winter Days: Less sunlight means less power. Overcast days or shorter winter days can naturally reduce the panel’s charging capabilities.
Hardware Malfunction: Sometimes, the issue could be internal – a malfunctioning component in the solar panel.
How Do I Solve the Ring Solar Panel Not Charging Issue
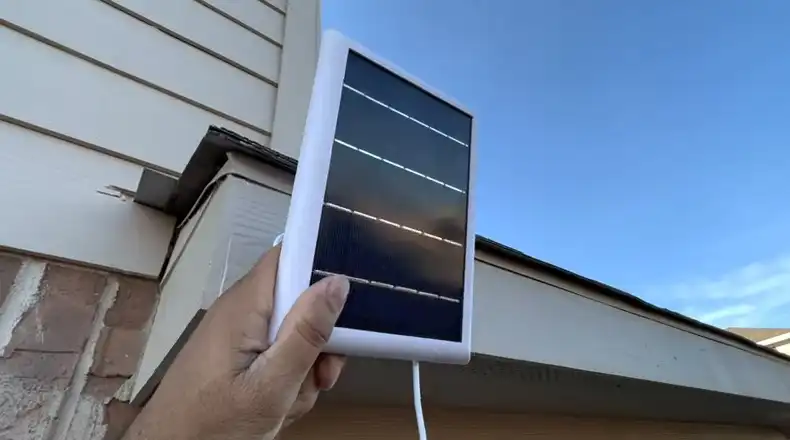
1. Addressing Placement Issues:
Solar panels are most effective when they have a direct line of sight to the sun. Proper placement can drastically improve energy intake.
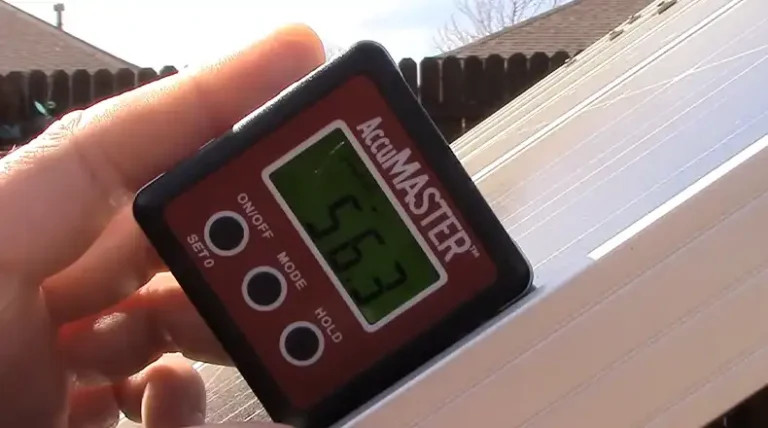
Step 1: Use a solar pathfinder or a sun chart to determine the area that receives the most sunlight throughout the day.
Step 2: Adjust the solar panel’s angle so that it’s perpendicular to the sun’s rays, especially during peak hours.
Step 3: Secure the panel in its optimal position. You might need to install additional mounting hardware or brackets to ensure stability.
Step 4: Monitor the charging status over a few days to notice improvements.
2. Cleaning the Panel:
A clean panel can absorb more sunlight, enhancing its efficiency.
Step 1: Turn off the connected devices for safety.
Step 2: Gently brush off any loose debris or dirt using a soft brush.
Step 3: Prepare a solution of mild soap and water.
Step 4: Dip a soft cloth or sponge in the solution and gently clean the solar panel’s surface in circular motions.
Step 5: Rinse with clean water if needed and wipe the panel dry with a soft towel.
Step 6: Turn the devices back on and observe any improvements in charging.
3. Checking Cables and Connections:
A continuous flow of electricity is crucial for effective charging.
Step 1: Disconnect the solar panel from the Ring device.
Step 2: Inspect the entire length of the cable for any visible damages, wear, or cuts.
Step 3: Ensure that the connectors are free from corrosion or dirt. Clean with contact cleaner if necessary.
Step 4: Reconnect the cables, ensuring a snug fit. A loose connection can interrupt the charging process.
Step 5: Consider using electrical tape or cable ties to secure connections if they appear loose.
Step 6: If damages are evident, purchase a replacement cable from a trusted supplier.
4. Managing Weather-Related Issues:
Environmental factors play a significant role in solar panel performance.
Step 1: Recognize seasonal variations. For instance, in winter, there might be fewer hours of sunlight.
Step 2: If living in a typically cloudy or rainy region, consider supplementing with a backup charger.
Step 3: After storms or snowfall, check the panel for obstructions like fallen branches or accumulated snow and clear them away.
Step 4: Waterproofing solutions or protective covers can be used to shield the panel from heavy rains.
5. Addressing Hardware Malfunctions:
Sometimes, the issue goes beyond simple fixes and could be related to internal hardware.
Step 1: Check for any visible signs of damage to the solar panel, like cracks or discoloration.
Step 2: Listen for any unusual sounds coming from the panel or connected devices, which might indicate a malfunction.
Step 3: Contact Ring’s customer support detailing the issues. They might have specific troubleshooting steps.
Step 4: If the product is under warranty, explore replacement options.
Step 5: If out of warranty, consider consulting a specialist or purchasing a new panel.
Tips for Optimal Solar Charging
Periodic Checks: Regularly inspect your Ring Solar Panel for any physical damages or obstructions.
Weather Awareness: Understand that weather conditions, like consecutive rainy or cloudy days, will affect charging. It’s normal.
Software Updates: Ensure your Ring device has the latest software updates, as some updates might improve device efficiency.
Professional Installation: If you’re unsure about installing the solar panel yourself, consider getting it professionally installed to ensure optimal positioning and setup.
Common Questions and Answers
Q: How long does it take for the Ring Solar Panel to charge my device?
A: Depending on sunlight conditions, it can take a few hours to a day to provide a significant charge. However, the primary goal of the solar panel is to maintain battery life rather than fully charge a depleted battery.
Q: Can I use other solar panels with my Ring device?
A: While the Ring Solar Panel is optimized for Ring devices, other solar panels might work. However, always check compatibility before trying.
Q: Is the Ring Solar Panel weatherproof?
A: Yes, the Ring Solar Panel is designed to be weather-resistant. However, extreme weather conditions might impact its efficiency.
In Conclusion
A Ring Solar Panel not charging can be a tad frustrating, especially when you’re relying on it to keep your security devices up and running. However, by understanding the potential causes and following our troubleshooting guide, you can ensure optimal charging and performance. Remember, sometimes, it’s the simple fixes – like a quick clean or a slight repositioning – that make all the difference. Thanks for joining us on this solar journey, and here’s to a fully charged and secure home! If you have more questions or concerns, don’t hesitate to drop them below. We’re here to help!