Solar Charge Controller No Display: Know This and That
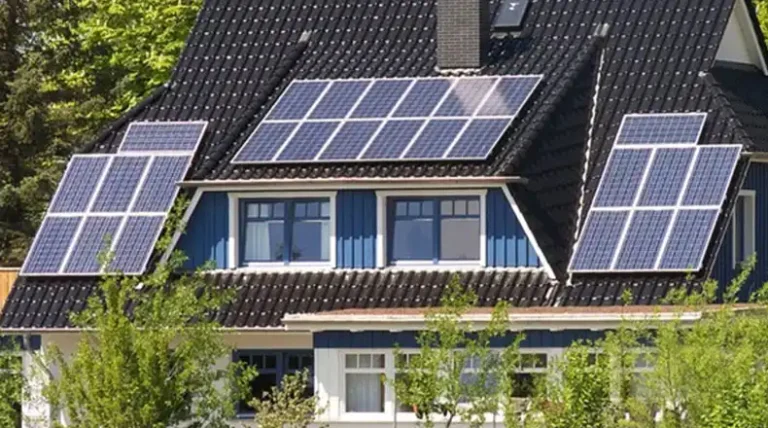
What happens when you’ve invested in a shiny new solar power system, basking in the glory of harnessing the sun’s energy to power your world; but one fine day, you notice something is amiss – your solar charge controller display is totally blank? Obviously, tension and frustration will arise like the lava in an active volcano. A flurry of questions floods your mind — What could be the reason? Will it cost a fortune to fix?
Basically, occurrences, like reversed negative and positive poles, broken display lines, etc, are the common culprits behind this issue. We’ll discuss them in the following sections along with the relevant solutions. Applying them accordingly will surely get you out of this mess.
Therefore, by the time you finish reading, you’ll not only understand the importance of that elusive display but also have a bag of tricks up your sleeve to bring it back to life. So, let’s shed some light on the issue, shall we?
Common Reasons for No Display on Solar Charge Controller
Now that we’ve established the importance of that screen, it’s time to explore the dark abyss of why it might suddenly go MIA. We’ll present common culprits, such as reversed battery connections, low voltage, or even a faulty display. And we won’t leave you hanging—practical fixes for each problem will also be provided. So, time to get your solar system back on track!
1. The Battery’s Negative and Positive Poles are Reversed
If your display vanishes into thin air, it might be because someone was playing “connect the dots” with the battery terminals. Mixing up the positive and negative poles can spell disaster. This is one of those “oops” moments that can fry your controller. Always double-check your connections.
2. The Display Lines Are Broken
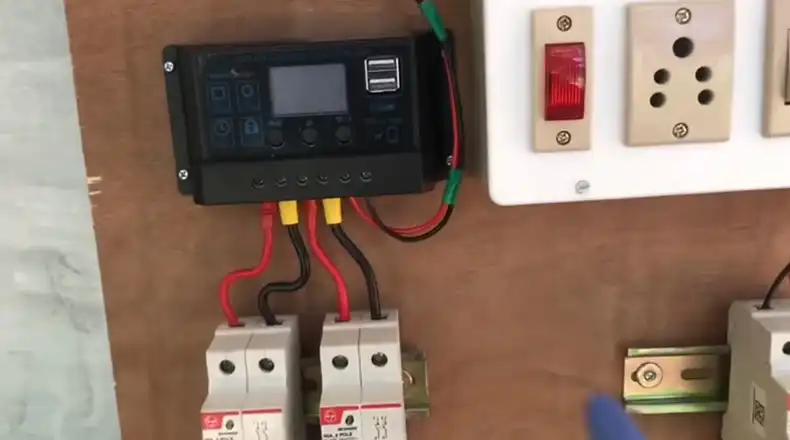
If your solar controller screen is blank, the first thing you should do is check the screen lines. Chances are, the lines have disconnected, and the display simply can’t power on. Reconnecting or replacing the lines may be necessary to get your display working again.
3. Battery Voltage Is Too Low
Sometimes, your battery voltage can drop so low that it sends your charge controller into sleep mode, like a low-power siesta. The result? No display. Ensure your battery voltage is within the acceptable range.
4. Lithium Battery Board Protection
Lithium batteries are like sensitive divas. If their protection mechanism detects any unusual voltage or current, it might shut down your charge controller. Make sure you’re handling these finicky powerhouses with care.
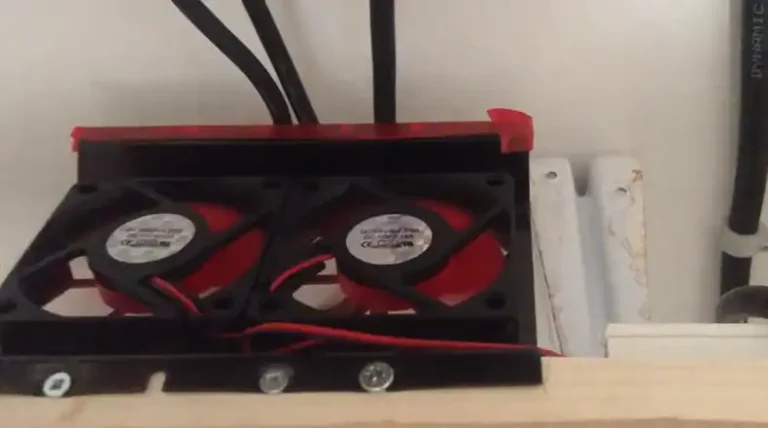
5. Loose Connections and Wiring Issues
Imagine your controller’s wiring is akin to a delicate Jenga tower. If one piece is missing or wobbly, the whole thing collapses. Loose connections can be a common culprit in display issues. Also, check the solar breaker to see if it has been tripped or not.
6. Faulty Display Screen
Sometimes, it’s not about what’s on the inside but what’s on the outside. A damaged or faulty display screen could be the root of your problem. Check for physical damage.
7. Controller Overheating and Damage
If your charge controller has been baking in the sun without proper ventilation, it might just decide to take a break – and that means no display. Heat can be a real buzzkill for these devices.
8. Software or Firmware Problems
Every now and then, even electronics throw a digital tantrum. Software glitches or outdated firmware can cause display problems. Updating your firmware might be the ticket to bringing your display back to life.
9. Your Solar Charge Controller is Actually Dead
In some cases, your solar charge controller has simply reached the end of its operational life. It’s quite inevitable. On average, these devices have a lifespan of about 7 to 8 years, and when they are near this age, they can start to malfunction or fail.
How to Fix This No Display Issue?
Now that you’re aware of the reasons, jump into the solutions and do the needful accordingly –
Ensure Correct Polarity
Turn off your solar system and ensure it’s disconnected from any power sources. Reconnect the battery with the correct polarity, ensuring the positive and negative terminals match up. Once this is done, power on your system and check if the display is back to life.
Secure or Replace the Display Lines
Begin by carefully examining the wiring and connections between the display and the controller. Look for any visible signs of damage or loose connections in the lines leading to the display. If you find any disconnected or damaged lines, reconnect them securely or replace them as needed.
Ensure Suitable Battery Voltage
Charge your battery to a sufficient voltage level. Depending on your system, this may involve using an external charger or simply allowing your solar panels to recharge the battery. Once the battery voltage is within the acceptable range, your display should come back to life.
Reset Battery Board
First, ensure that the lithium battery is not damaged. If it’s in good condition, check for any reset buttons or switches on the battery board. Pressing these reset buttons, if available, can often reinitialize the battery protection system and bring the display back online.
Ensure Connections and Wirings Are Okay
Carefully inspect all the connections and wiring of your solar power system. Tighten any loose connections, ensuring that all terminals are securely fastened. Simply flip the switch back on and check if this restores the solar charge screen. After securing the connections, restart your system to check if the display is functioning.
Repair or Replace the Display
Examine the display screen closely for any visible cracks or damage. If the screen is physically damaged, you may need to replace it. Contact the manufacturer or a qualified technician for a replacement screen. If it’s under warranty, make sure to follow the warranty process.
Ensure No Overheating
Ensure your charge controller is adequately ventilated and not exposed to excessive heat. Relocate it to a cooler area if necessary. You can also clean any dust or debris around the controller to improve ventilation. After implementing these measures, check if the display comes back to life.
Keep Software and Firmware Up-to-date
Visit the manufacturer’s website and search for the latest firmware for your specific charge controller model. Download the update and follow the provided instructions for installation. This process can often resolve software-related issues and restore your display.
Upgrade the Model
Contact your local solar energy professionals to assess the state of your charge controller. They will determine whether it’s time for a replacement. Upgrading to a newer model can bring your solar system back to life and possibly offer enhanced features and efficiency.
When to Seek Professional Help
But, there are times when the problem runs deeper than a loose wire or low battery. If you encounter the following scenarios, it’s time to pick up the phone and call for professional help:
Identifying issues that require expert intervention: If you’re not comfortable diagnosing or fixing the issue yourself, or if you’re unsure about the problem’s cause, don’t hesitate to seek assistance.
Finding a qualified technician: Look for certified solar power professionals who can troubleshoot and repair your charge controller. Don’t trust just anyone with your valuable solar setup.
Ensuring your solar power system’s warranty remains intact: Some warranties may be voided if you attempt DIY repairs. To protect your investment, consult with a qualified technician.
Importance of Display on Solar Charge Controllers
To make things simpler, let us give you an example. Think of it as the dashboard of your solar system. It’s the digital compass that tells you where your energy is coming from, going to, and how efficiently it’s all working. Without it, you’re flying blind.
The display is your window into the soul of your solar power setup. It provides valuable information on battery status, charge current, voltage, and more. Understanding this data is crucial to ensure your system runs optimally, preventing overcharging, undercharging, or other potential issues.
So, if your display goes dark, it’s not just about losing a fancy screen; it’s about losing control over your solar energy destiny.
End Note
In terms of solar power, a charge controller’s display isn’t just for show – it’s your guiding light. When it goes dark, it’s a wake-up call to investigate and resolve the issue promptly. Whether it’s a reversed battery connection, low voltage, or a faulty display, you now have the knowledge to diagnose and potentially fix the problem yourself. Remember, the key to a successful solar journey is staying informed, proactive, and quick to address any hiccups.
We hope this article has shed light on the perplexing issue of a solar charge controller with no display. If you have any questions or experiences to share, please do so in the comments section below. Your fellow solar enthusiasts and our experts are here to help you on your sunny path to renewable energy. Thanks for reading, and here’s to a brighter, sunnier future!