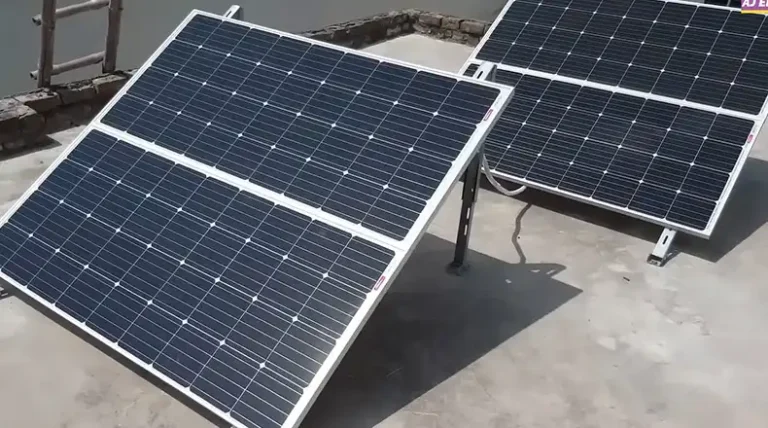
How to Hard Wire Solar Lights | Different Solar Light Installation
Frequent nuclear battery disposal harms our shared environment. Meanwhile, quality solar fixtures with durable lithium cells carry premium pricing – frustrating budget-focused homeowners. Luckily a simple electrical conversion process transforms flaky solar lights into permanently wired fixtures shining reliably over a decade or more.
How do you transform your solar-powered marvels into electricity-dependent wonders? The answer lies in the art of hardwiring. Hardwiring your solar lights is like giving them a permanent seat at the electricity table, ensuring they shine even when the sun decides to play hide-and-seek.
Fear not, fellow illuminators; we’re here to guide you through the labyrinth of wires, connectors, and volts. Your outdoor space is about to get an upgrade —let’s make it shine!
Steps to Hard Wire Solar Lights
Follow the steps below to transform your solar-powered marvels into electricity-dependent wonders.
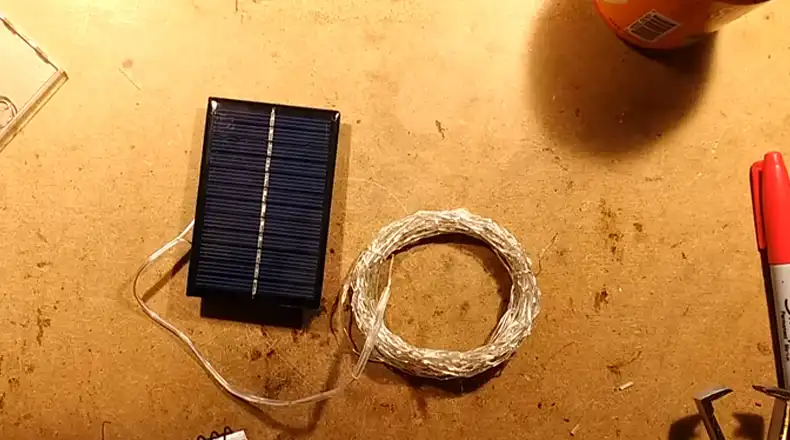
Required Electrical Components
Before wiring, some electrical components must be sourced for picking up house current and safely conveying it to your converted solar lights:
- 12V DC power converter – Reduces 120V/240V AC down to 12V DC output. Purchase wattage handling at least 25% over total lights wattage.
- 16 or 14-gauge exterior wiring – Enough length to run all lights grouped into branches. Outdoor rated for sunlight and moisture exposure.
- Conduit and connectors – Protect wiring running underground between lights and to a power source.
- Terminals / Splices – Connect wire branches and join to solar lights. Use gel-filled waterproof connectors.
- Voltage meter – Confirms safe polarity before sealing light terminals.
Additionally, gather any mounting hardware, tools for wire handling, a fiberglass ladder for elevated work, and personal protective equipment like gloves and eye protection before wiring.
Step 1: Plan Out the Electrical Installation
Careful planning ensures you purchase the properly spaced components and minimize costly wiring mistakes:
- Mark light locations – Plot locations conducive to wire routing without excessive conduit bends.
- Map wire routing – Devise the overhead, ground, and building routes back to your circuit panel.
- Calculate total wattage – Add the wattages of all lights to size the power converter and wire appropriately.
- Inspect for obstacles – Scout for surprises before digging like gas pipes that require route adjustments.
Consider drawing a lighting map with wire routing to follow later. Now let’s continue the wiring process.
Step 2: Run Wiring to All Solar Light Locations
With the power disconnected, route your wiring in the planned paths to each solar fixture:
- String overhead.
- Staple against walls and fences.
- Bury 18 inches underground through the conduit to prevent damage.
At each solar light or group of nearby lights, leave an additional wire length. Later this connects to the light terminals.
Use gel-filled, outdoor-rated wire connectors to join wire segments as needed to create uninterrupted runs from the converter location to all lights.
Step 3: Connect Wires to Solar Light Fixtures
At each solar fixture, locate the positive and negative terminals. Use a flat-head screwdriver to loosen each terminal, insert stripped wire ends fully, then tighten terminals to clamp wires and prevent moisture ingress.
Ensure polarity is properly aligned by confirming the voltage meter shows 12V DC present across the terminals before sealing them up. Reverse wires if needed.
Leave no bare copper exposed, and wrap the terminal block with electrical tape for additional weatherproofing if possible.
Step 4: Connect Lights to Power Source
Group all wire runs connecting the solar fixtures back to terminals on the input side of the 12V DC power converter. Match positive to positive and negative to negative terminals.
Have an electrician properly connect the 120/240V AC side of the converter to a suitable circuit in your breaker panel if you lack the skill.
Energize the circuit and test the illumination of all your connected solar lights!
Step 5: Test All Lights and Fix Any Issues
Before sealing all permanent terminal connections, turn on the breaker powering the lights, and test functionality. Walk the installation verifying all lights Received power and are illuminated properly.
Use the voltage tester to check polarity across the terminals on random lights, In case wires were accidentally reversed on certain fixtures.
If any issues are detected, disable the breaker and check terminals for loose wiring as well as damage from possible shorts.
Now let your solar-sourced lighting shine reliably every night for years to come! We’ll examine tips for modifying specific types of solar lights next.
Installation Methods for Different Solar Light Varieties
From pathway marker lights to floodlights, various solar lighting forms exist to enhance different zones outdoors. Here are some wiring variations based on light purposes:
- String Lights: Connect wires from the receptacle end of each string light strand before grouping all runs together into shared overhead or underground conduit leading back to the power converter.
- Spotlights/Floodlights: Run conduit and wiring directly to each individual stand-alone fixture instead of daisy chaining between lights. Maintain separate runs as floodlights are often mounted widely apart.
- Path Lights: With path luminaries installed in sequence to illuminate walkways, their wiring can either daisy chain from light to light in series, or group individual runs from multiple lights together into common conduits back to the power source similar to string lights. Choose based on installation distance and wire gauge limits.
When You Can/Cannot Hardwire Solar Lights
While the project details above may sound daunting initially, converting any permanently placed outdoor solar lighting to grid power proves surprisingly straightforward in practice. But several limitations still apply:
- Low Voltage DC Lights Only
Low voltage solar units (typically 12V or 24V) work perfectly for hardwiring while still allowing smaller 16 gauge wire runs. Higher voltage devices would require heavy-duty outdoor electrical work better left to professionals.
- Low Wattage LEDs Recommended
The lowest-wattage LED solar lights (2-10 watts) are the simplest to convert. As more amperage and wider wire gauges get involved for 20W+ LED fixtures, securing components and routing gets much more complex for amateur skills.
- Hard-Wiring Works Best on Permanently Mounted Lighting
Temporarily placed pathway markers and spotlights that get removed seasonally are not suitable for wiring modification. Only lighting secured into the ground or nailed onto buildings should receive electrical integration.
Now let’s examine proper wire gauge selection for safely powering arrays of solar-sourced lighting.
Wire Gauge Rating For Hard-Wiring Solar Lights
When grouping multiple lights wired together into shared conduit runs, follow this basic gauge guidance based on the total wattage involved:
- 3-10 watt lights = 16 or 14 gauge wire
- 10-20 watt lights = Use thicker 12 gauge wire
- 20-30 watt total load = Further upgrade to 10 gauge
While basic 12 gauge outdoor wire works safely for small installations, spending a bit more on thicker 10 gauge enables linking over a dozen pathway lights together on larger properties.
Always keep LED wattage totals under 80% of the handling capacity to prevent heat damage and give some growth allowance. Additional fixtures can then tap into unused capacity later as the mood strikes.
Safety Precautions during the conversion process
Basic electrical skills allow safely powering LED solar fixtures, but extreme care is still needed when handling main voltages:
- Keep the main breaker OFF anytime wires are exposed during the installation and testing process before the last connections get cinched down.
- scope buried utilities before trenching wire conduit outside to avoid line strikes.
- Stand firmly on fiberglass ladders, wear rubber sole shoes on wet days, and wear protective eyewear and gloves when stripping wires.
Light-emitting diodes run cooler than incandescent bulbs but still pose ignition and melt hazards if enough units short out from issues like pierced underground wires. So take things slow and double check polarity at each stage before sealing terminals.
Frequently Asked Questions
Do I Need An Electrician To Hard-Wire 12-Volt Outdoor Lighting?
If simply connecting a plug-in 12V converter to wires leading outside to solar fixtures, no certified electrician is needed. For directly integrating wiring into high voltage circuits, hire a licensed professional unless experienced with mains electrical work.
What Size Wire Should I Use For Low Voltage Outdoor Lighting?
With 12V DC lighting drawing only several amps, standard 16 or 14-gauge exterior wire works safely over long wiring runs. Only when powering dozens of lights together over 150 watts might thicker 12 gauge or 10 gauge wire become necessary.
Can Extension Cords Provide Low Voltage Power Instead Of Direct Wiring?
12V lighting draws little power so regular extension cords can work but handle far less wattage than direct wiring before voltage drop drains luminosity. Go wired instead for unlimited expansion capability.
Is Hard-Wiring Required For Permanent Solar Fixture Installations?
No, but replacing failing batteries every 2-3 years on solar lights grows tedious when simple wiring creates permanent zero-maintenance illumination. Hard wiring is the long-term play.
Can I Hard-Wire Solar Path Lights Together In Series Instead Of Parallel?
Yes, daisy-chaining solar path lights like Christmas lights in the series work fine. Each draws little power so numerous units link affordably via direct wiring if desired before returning the feed to the voltage converter.