How to Secure Solar Wires to RV Roof? Steps Guide
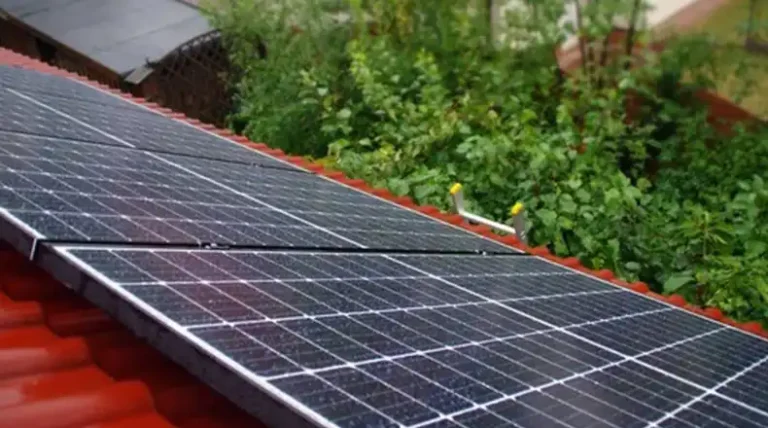
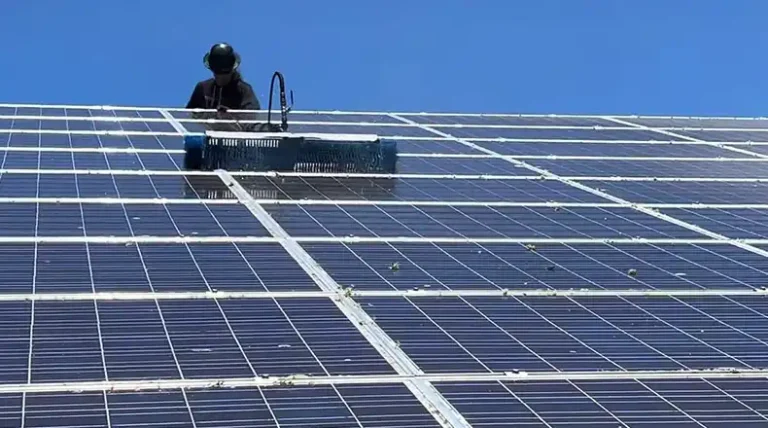
Installing solar on my RV lets me boondock way out in the boonies! But I quickly realized those wires snaking across my roof could get shredded without protection. Loose cables flopping around up there eventually crack, especially hanging out in the hot sun and rain all the time. I needed to firmly fasten them down so my solar system kept cranking year after year.
This article tells easy ways to secure wiring overhead using special clips, channels, and pads made for RVs. Now I don’t worry about critters chewing through wires or tree branches ripping my cables when I’m parked deep in the forest. My solar wires stay put in any weather so I can keep on truckin’ off grid!
Things You Can Use for Securing Solar Wires
There are several effective options for securing your RV solar wires to the roof without drilling extra holes. Each has pros and cons to consider.
Cable Clips or Holders
Plastic zip-tie style cable mounts offer an inexpensive and straightforward wire management option. The base fastens to the roof with screws or adhesive. A hinged retaining clip then snaps shut over the wires, keeping them pinned tightly in place. The mounts connect together in a channel or “zip-strip” configuration for enclosing longer cable runs.
Quick to install, very affordable, and handy for neatening and organizing random cables. Hinged clips allow wires to be pressed in under tension without over-compressing.
Not as durable or weather-resistant as metal conduit channels. Clips may require occasional tightening if they loosen over time. Ensure UV-resistant plastic construction for longevity.
Since any loose cabling flopping around on an RV roof will eventually fail, surge-proof plastic mounts offer protection. Consider them the minimum security for stationary cables and wires. Select quality name-brand parts rated for outdoor use rather than generic aftermarket clips. Test the tension to avoid pinching wires too tightly.
Cable Conduits or Channels
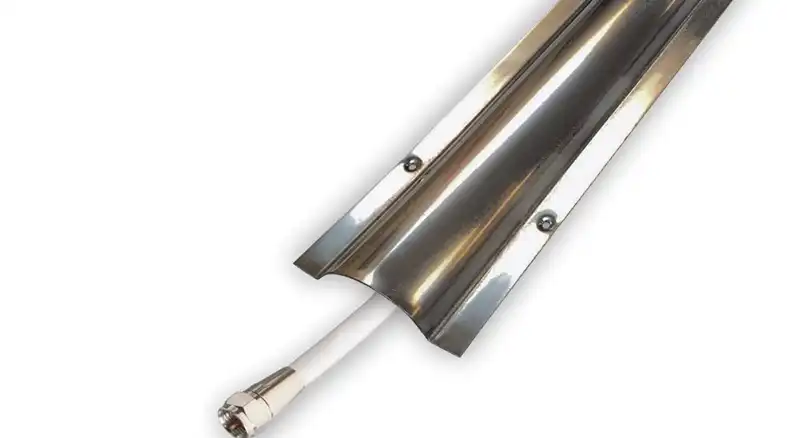
Rigid metal wire channels completely encase cables to protect against weathering, impact damage, abrasions, and wildlife. The continuous channels screw directly to the roof framing with built-in mounting flanges, then route wires neatly from point A to B. Various channel dimensions are available to match cable diameter.
Channels cost more than basic cable ties but deliver unmatched security, organization, and aesthetics. Rounded corners on the wireway openings prevent cable insulation from ripping over time. Channels and fittings can traverse around obstacles, make 90° bends, and branch into multiple paths as needed. Consider them an upgrade over basic zip-strip style mounts.
Adhesive-Backed Mounting Bases

For stationary wires in tight spaces, adhesive wire mounts bond cables to the roof surface without screws or penetrations. The rugged rubberized pad sticks to the roof membrane, providing a low-profile mounting base for running wires through included plastic clips or nylon zip ties. The 3M-style adhesive backing bonds tenaciously to the roof membrane for permanent positioning without leaks or holes.
Eternabond Tape
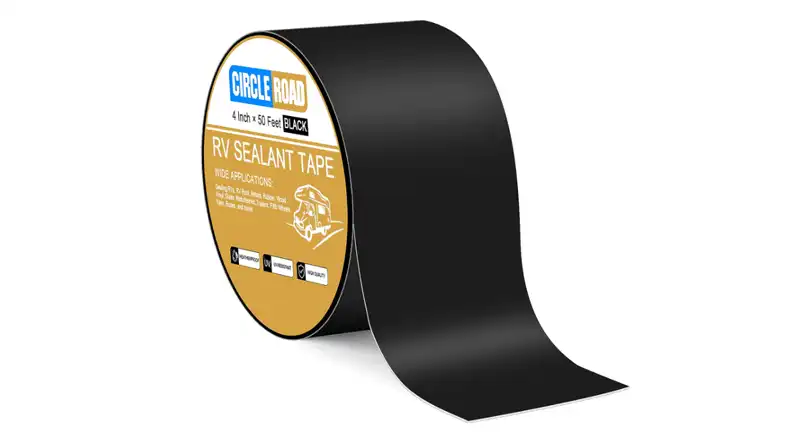
Eternabond tape creates an incredibly strong seal and bond between cables and roof membranes. At only 2 mils thin, the micro-sealing tape has amazing adhesion and resistance to weather, UV radiation, solvents, vibration, and impact. The specially engineered polymers form an unbreakable molecular bond between contact surfaces.
Zip Ties
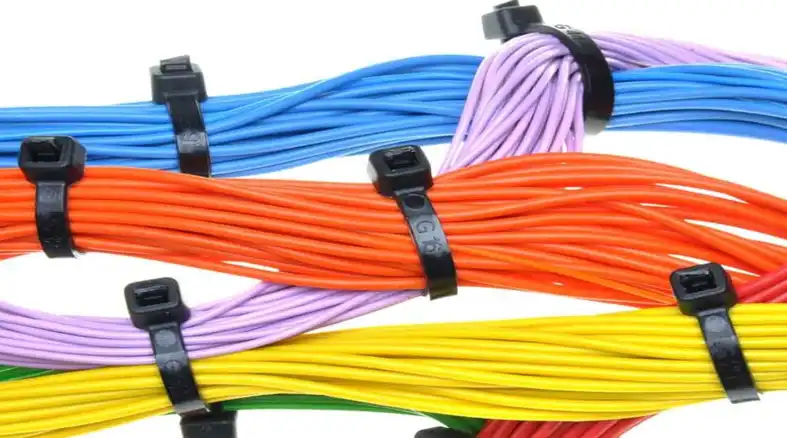
Plastic zip ties offer a low-cost, minimal-effort means of bundling and routing wires overhead. Their convenience makes them tempting to simply lash cables down to screw heads or roof ladders on a temporary basis. However, zip ties degrade quickly outdoors and should not constitute long-term wire protection.
If going the zip tie route, choose products marketed as UV-resistant and designed for solar installations. Nylon material holds up better than standard vinyl ties. Avoid cinching zip ties excessively tight around cables as this can damage insulation over time. Plan on inspecting and replacing ties periodically as part of periodic solar system checks. Consider them a backup option only.
Steps for Securing Solar Wires on RV Roof
Securing solar wires on your RV roof is crucial for ensuring their longevity and preventing potential electrical hazards. Here’s a step-by-step guide:
Step 1 – Gather materials:
You’ll need weatherproof cable clips or brackets specifically designed for RV solar installations, cable ties, sealant (for entry points and around mounting hardware), a drill, appropriate drill bits and screws, and a tape measure.
Plan the wire path: Choose the shortest and most direct route from the solar panels to the entry point on the roof, minimizing sharp bends and avoiding areas with high foot traffic or potential snags. Mark the path with a pencil or chalk.
Step 2 – Securing the wires:
Attach cable clips or brackets: Install the clips or brackets along the marked path at regular intervals, typically every 12-18 inches. Ensure they are securely fastened to the roof using the appropriate screws or bolts.
Step 3 – Run the cables
Carefully lay the cables within the clips or brackets, ensuring they are not pinched or chafing against any sharp edges. Leave some slack for cable movement due to thermal expansion and contraction.
Step 4 – Secure with cable ties
Use cable ties to secure the cables within the clips or brackets at regular intervals, providing additional stability. Avoid overtightening the ties to prevent damage to the cable insulation.
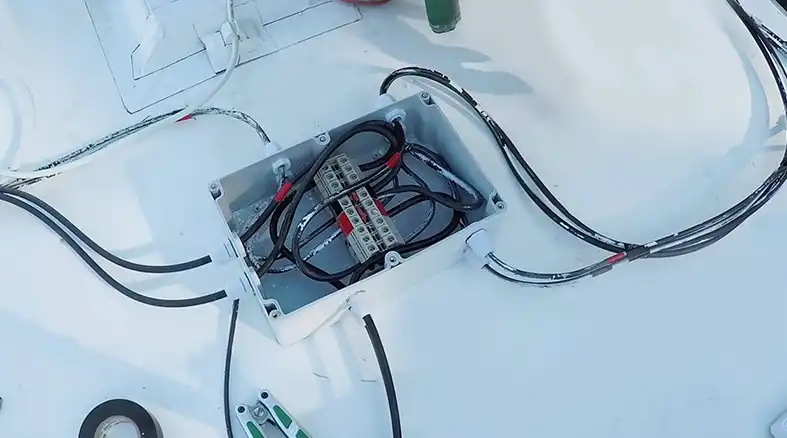
Step 5 – Seal entry points
Apply a generous amount of sealant around the cable entry point on the roof where the cables enter the RV’s interior. This prevents water leaks and protects the electrical system.
Additional Tips for Keeping Your RV Solar Wires Secure
Properly routing and supporting the solar wires is just as important as the anchoring method. Here are some extra wiring best practices:
Careful Wire Routing
Strategically run wires over solid roof framing members wherever possible. Avoid routing over roof vents, skylights, expansion joint gaps, or voids where cables rest freely without support underneath. Use the shortest path between connection points to minimize sagging opportunities. Periodically check for taught, suspended cables as vibration can loosen screw mounts over time. Apply additional clips or channels if detecting movement or bounce. Consider installing wire supports between structural contact points to prevent undue cable flexing.
Leave Slack in Wires
When securing cables, allow slight excess length instead of pulling them taut. Tight zip ties or rigid conduit can exert excessive tension on wire conductors if yanked tight horizontally but then left loose between vertical attachments. This puts stress on connections as cables alternatively go slack and then snap straight with RV motion. Run cables just snugly enough to prevent loose looping behavior without introducing tension. Light support under wires eliminates vertical movement so snug horizontal fasteners don’t have to overcompensate. Balancing clip tightness, cable supports, and tiny amounts of slack buffer wires from damage.
Protect from Sun
Avoid running wires through zones of uninterrupted sun exposure whenever feasible. Route opaque conduit or shielded cable instead. For exposed runs, incorporate shields or deflectors to provide intermittent shade and cooling. Dark insulated wires absorb tremendous ambient heat from the sun, becoming stressed over time. Even conduit channeling sees a reduced lifespan if left continuously baking on a bare white roof membrane. Strategically incorporate resting points under solar panels or roof vent shrouding where possible. Where unrelenting sun exposure cannot be avoided, select cabling designed specifically for solar resistance.
Seal Exposed Wire Ends
Any cable conductors or shielding accidentally left exposed pose heightened short circuit and corrosion hazards. Prevent cut, damaged, or loose shielding by capping off the immediate section, and sealing with heat shrink connections if necessary. Electrical tape alone tends to fail quickly outdoors. Dual-wall adhesive lined heat shrink tubing better protects compromised wiring segments long term. When tapes and caps are eventually degraded from UV and ozone exposure, restore protection during periodic inspections.
Regular Inspections
However robust the initial wire mounting methods, periodic checks safeguard against problems developing over months of UV exposure, weathering, and road vibration. Include examining cable runs, supports, and termination points during semi-annual solar panel cleanings or tune-ups. Tighten any loose screw fasteners, refresh UV degraded zip ties, confirm adhesive pads remain firmly set, and visually scan wires for deterioration. Addressing minor wear early on avoids catastrophic conductor failure down the road.
Minimize the Wirepaths to the Left and Right
When routing wires on your RV roof, try to keep paths to the left and right sides as short as possible. The wires in those lateral areas experience high stress from road vibration and flexing during travel. Minimizing wire length near the roof edges reduces the chance of fatigue failure over time.
Why Securing the Solar Wires is Important?
Properly mounted cables ensure an RV’s roof-mounted solar system performs reliably for years of service. Unsecured wiring left arcing over roof openings or rubbing raw on sharp edges definitely leads to premature failure after one season.
Prevent Electric Shorts and Fires
If wiring gets damaged from wind, vibration, or sun exposure over time, the copper conductors can get exposed. This leads to shorts, arcing, and extreme fire hazards.
Avoid Water Leaks into Roof
Unsecured wires that chafe through the roof membrane cause very damaging water leaks into the RV interior. This leads to mold, rot, delamination, and potential electrical issues.
Maximize System Reliability
Loose wiring gets strained from motion and sways in the wind. This flexing leads to conductor fatigue and eventual cracking. Broken wires cause full or intermittent electrical faults.
Improve Aesthetics
Neat, orderly wiring makes any roof look more professional and helps the resale value. Secured wires also reduce wind noise while driving.
Extend Equipment Lifespan
Allowing panels, wires, or attachments to flap constantly shortens their lifespan from metal fatigue. Proper securing allows decades of vibration resistance.
In Summary
properly installed and secured wiring lays the foundation for a high-performance, low-maintenance renewable energy system. Attention spent armoring cables against environmental and mechanical damage pays dividends for the entire service life of the RV solar equipment. Following the mounting best practices above gives both owners and professional installers confidence in a reliable, code-compliant rooftop solar installation. Now get out and enjoy your boondocking solitude knowing icy storms or rutted backroads cannot foil your off-grid solar charging.