Go Power Solar Controller Troubleshooting: A Complete Guide
What would you do when you’re enjoying a sunny day, basking in the glory of your solar-powered haven when suddenly, the lights dim, and the battery level drops faster than a rock in water? A sudden glitch in your Go Power solar setup can quickly turn your sunny day into a cloudy one. This is where Go Power Solar Controller troubleshooting becomes your superhero.
In a world where we’re harnessing the power of the sun to fuel our daily lives, solar energy systems are becoming increasingly popular. Go Power Solar Controllers play a crucial role in ensuring the efficiency of these systems. But, like any technology, they can throw a wrench in the works from time to time. If you’ve ever found yourself scratching your head over Go Power Solar Controller troubleshooting, you’re not alone.
This is why to help everyone get out of this mess, we’re here to shine a light on this matter and help you resolve those solar snafus. All you need to do is take a few minutes and read the entire post.
Troubleshooting Go Power Solar Controller Accordingly
Before you resort to calling in a professional, take a deep breath and remember that many Go Power Solar Controller issues can be resolved with a little know-how. Let’s dive into some common problems and their solutions —
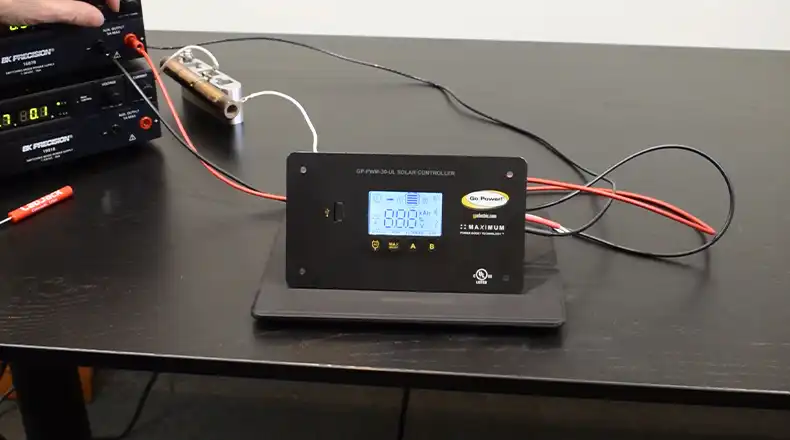
1. The Mysterious Display Dilemma
The Issue – The display on your Go Power Solar Controller is acting like it’s lost in the dark.
The Causes –
- Loose or Damaged Display Cable: A loose or damaged cable can disrupt the communication between the controller and the display, leading to a blank or unreadable screen.
- Malfunctioning Controller Screen: Sometimes, the issue lies with the controller’s screen itself. If it fails to display information correctly, it can make it seem like the controller is malfunctioning.
- Setting Issue: Incorrect settings can also lead to display problems. If the controller’s settings are not aligned with your system requirements, it may affect what’s shown on the display.
How to Tell –
- Check the Display Cable: Inspect the display cable for any visible damage or loose connections. Ensure it’s securely connected to both the controller and the display unit.
- Settings Check: Cycle through the settings and modes on the controller to ensure it’s not a simple setting issue. Review your user manual to confirm the correct settings for your system.
- Screen Examination: If the display remains blank or unreadable, it’s more likely a hardware issue. Carefully open the controller by following your user manual’s instructions and visually inspect the screen for any damage.
Troubleshooting –
- If it’s a loose cable, secure it to ensure proper communication between the controller and the display.
- For a damaged display, replacement is necessary, which typically involves opening up the controller. Consult your user manual for guidance on this process or contact Go Power’s customer support.
- If it’s a setting issue, reset the controller to its default settings as per your user manual’s instructions. This should align the settings with your system requirements and resolve the display problem.
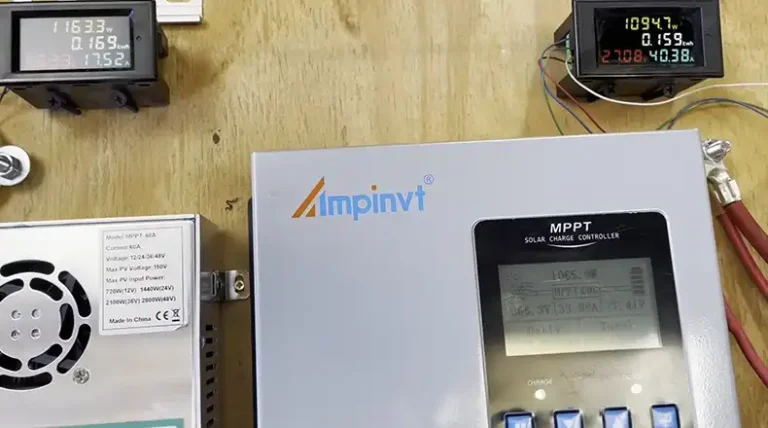
2. Voltage Vexations
The Issue – Voltage readings on your controller seem inconsistent or incorrect.
The Causes –
- Poor Connections: Loose or corroded wiring connections can lead to resistance, affecting the accuracy of voltage measurements.
- Dirty Terminals: Accumulated dirt or debris on the battery terminals can disrupt the flow of electricity, leading to voltage discrepancies.
- Failing Battery: If your battery is deteriorating or malfunctioning, it can affect voltage readings.
How to Tell –
- Inspect Wiring Connections: Examine all wiring connections, ensuring they are properly tightened and free of corrosion or damage. Clean and secure any loose connections.
- Battery Terminal Check: Clean the battery terminals, especially if they appear dirty. Ensure they are properly connected to the battery. This can help eliminate resistance in the electrical path.
- Battery Examination: If voltage issues persist, consider testing the battery’s condition. A failing battery can significantly impact voltage measurements.
Troubleshooting –
- Clean and secure all wiring connections to ensure a stable current flow without resistance.
- Clean battery terminals, if necessary, to maximize energy absorption and maintain a reliable electrical connection.
- If the battery is determined to be faulty, it may require testing or replacement to restore accurate voltage readings.
3. Cursed by Current Concerns
The Issue – Your controller is struggling to manage the current effectively.
The Causes –
- Wiring Problems: Loose or damaged wiring connections can result in resistance, reducing the efficiency of current flow.
- Incorrect System Settings: If the controller’s settings do not match your solar system’s voltage and current requirements, it can lead to ineffective current management.
- Malfunctioning Controller: In some cases, the controller itself may be malfunctioning, impacting its ability to manage current efficiently.
How to Tell –
- Inspect Wiring Connections: Carefully inspect all wiring connections to ensure they are properly tightened and free of damage. Loose or corroded connections can lead to resistance and disrupt current flow.
- Review System Settings: Confirm that the controller’s settings align with your solar system’s voltage and current requirements. Incorrect settings can impede the controller’s ability to manage current effectively.
- Controller Evaluation: If the issue persists, it may be related to the controller’s internal functions. In such cases, it may require servicing or replacement.
Troubleshooting –
- Tighten and inspect all wiring connections to prevent resistance, allowing for a stable current flow.
- Ensure the controller settings match your system’s voltage and current requirements for efficient current management.
- If the controller is malfunctioning, it may require professional servicing or replacement to resolve current management issues effectively.
4. Controller Not Powering Up
The Issue – Your solar controller doesn’t seem to wake up.
The Causes –
- Loose Wiring Connections: Loose or improperly connected wires can prevent the controller from receiving power.
- Blown Fuse: A blown fuse can interrupt the power supply to the controller.
- Malfunctioning Controller: Internal issues or a malfunctioning controller can also lead to power-up problems.
How to Tell –
- Inspect Wiring Connections: Examine all wiring connections to ensure they are securely attached. Loose or disconnected wires can disrupt the electrical path to the controller.
- Check the Fuse: Inspect the fuse to see if it’s blown. If it’s damaged, replace it with a fuse of the correct rating.
- Controller Evaluation: If all connections are secure and the fuse is intact, but the controller remains unresponsive, it’s likely a hardware problem within the controller itself.
Troubleshooting –
- Secure all wiring connections to ensure a proper electrical path to the controller.
- If the fuse is blown, replace it with one of the correct ratings to restore power.
- If the controller is still not powering up, it may require professional attention for diagnosis and repair.
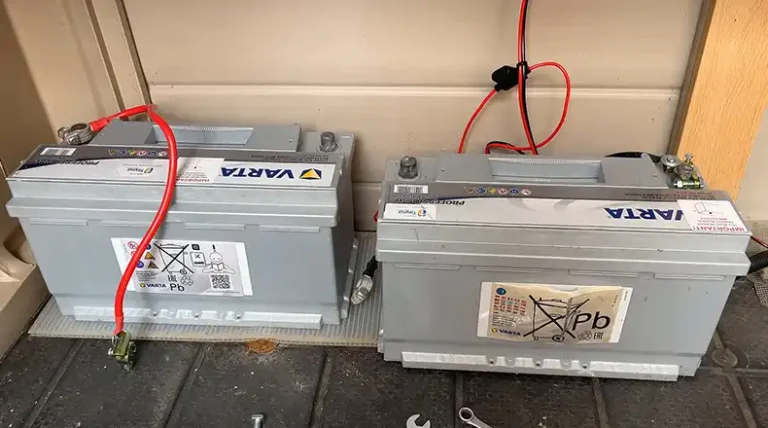
5. Battery Charging Woes
The Issue – Your batteries aren’t charging as they should.
The Causes –
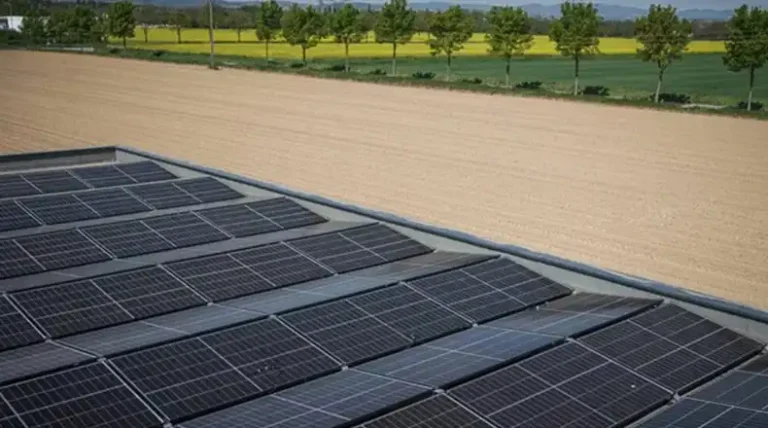
- Inadequate Sunlight: If your solar panels aren’t receiving sufficient sunlight, they can’t generate enough energy to charge the batteries.
- Dirty Solar Panels: Accumulated dirt, debris, or shading on the solar panels can reduce their efficiency, leading to slower battery charging.
- Battery Problems: If the batteries are old, damaged, or malfunctioning, they may not accept or hold a charge effectively.
How to Tell –
Solar Panel Exposure: Confirm that your solar panels have access to enough direct sunlight. Obstructions or shading can limit their energy production.
Clean Solar Panels: Regularly clean your solar panels to remove dirt and debris that may be blocking sunlight. Properly cleaned panels can maximize energy absorption.
Battery Examination: If problems persist, have the batteries tested to determine if they’re at fault. Old or damaged batteries may not charge efficiently.
Troubleshooting –
- Ensure your solar panels have access to sufficient sunlight, either by repositioning them or removing obstructions.
- Maintain clean solar panels to maximize energy absorption and efficient charging.
- If the battery is determined to be faulty, it may need testing or replacement to restore proper charging.
6. Overheating Blues
The Issue – Your controller is hotter than a summer’s day.
The Causes –
- Inadequate Ventilation: Poor airflow and ventilation around the controller can cause it to overheat.
- Exposure to Direct Sunlight: Placing the controller in direct sunlight can lead to excessive heat buildup.
- Faulty Cooling System: A malfunctioning cooling fan or heat sink can impede heat dissipation.
How to Tell –
- Ventilation Check: Ensure that the controller is in a well-ventilated location with adequate airflow. Proper ventilation is essential to dissipate heat effectively.
- Sunlight Exposure: Protect the controller from direct sunlight or other excessive heat sources.
- Cooling System Inspection: Check the cooling fan and heat sink for issues. A malfunctioning cooling system can lead to overheating.
Troubleshooting –
- Place the controller in a well-ventilated area to allow heat dissipation.
- Shield the controller from direct sunlight or any other heat sources.
- If the cooling fan or heat sink is found to be malfunctioning, they may need to be repaired or replaced to prevent overheating.
7. Mismatched Settings
The Issue – Your controller’s settings don’t seem to match your solar system’s requirements.
The Causes – This issue can often be traced back to incorrect configurations during the initial setup.
How to Tell –
- Review your controller’s settings and compare them to your solar system specifications. If they don’t align, it’s likely a setting issue.
Troubleshooting –
- Adjust the settings to match your solar system’s voltage and current requirements.
- Refer to your user manual for guidance on configuring the settings correctly. Ensure that all parameters are correctly entered, including voltage, current, and battery type.
Addressing these specific troubleshooting issues ensures your Go Power Solar Controller operates optimally, helping you make the most of your solar power system.
In Conclusion: Illuminating Your Solar Journey
Troubleshooting Go Power Solar Controller problems doesn’t have to be a daunting task. With a bit of knowledge and the guidance provided here, you’re well-prepared to tackle display issues, voltage variations, and current concerns. So, when your solar system acts out, instead of feeling in the dark, embrace the opportunity to become your system’s expert.
Your solar journey can be filled with sunny days and efficient energy when you understand how to address these challenges. If you ever find yourself needing further clarification or guidance, don’t hesitate to reach out. We’re here to help you make the most of your solar-powered adventure. Thanks for reading, and here’s to a brighter, greener future!