[5 Fixes] Go Power Solar Controller Troubleshooting
When it comes to solar charge controllers, Go Power has quite a few options available in the market today. They offer various models ranging from 10 to 30 AMP models as well as Bluetooth connectivity and support all sorts of solar batteries including Lithium, AGM, wet cell, and gel batteries. However, troubleshooting them can be a bit bothering since there aren’t many troubleshooting guides available on the internet for Go Power solar charge controllers.
In this article, we’ll go through some common errors, along with their error codes as well as how to troubleshoot those errors. Read on!
Go Power Solar Controller Error Codes and How to Troubleshoot Them
The error codes and their fixes apply to the 10 AMP as well as the 30 AMP model. Later on, we’ll discuss some more issues for which you may or may not receive an error code and how to fix them. Let’s begin.
1. PO 1 Error Code
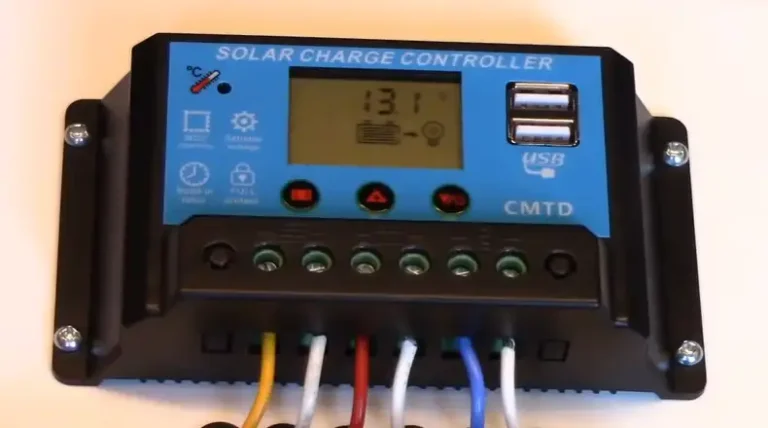
When your Go Power solar charge controller is showing a PO 1 error code on its mini LCD display, it indicates that a polarity reverse has occurred in the solar panel. It means that either you have accidentally applied the negative wire to the positive post of the controller, or a connection issue has occurred between the solar panels on the roof and the solar charge controller.
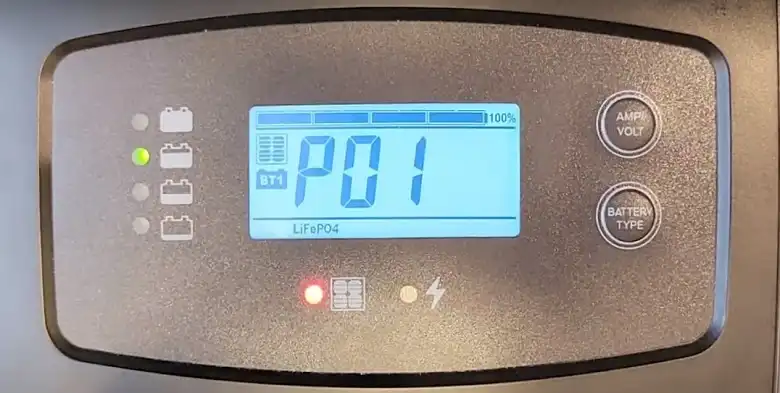
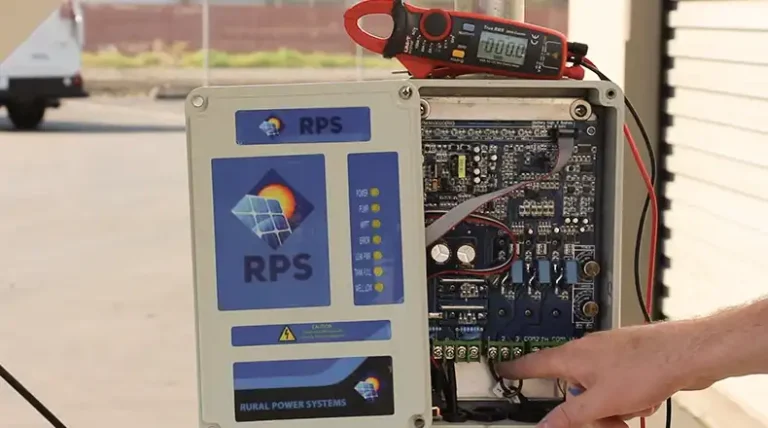
To check if that’s the case, use a multimeter to check the solar input. If it shows a negative voltage, then you’ve reversed the connectors and thus the polarity is incorrect.
How to Fix
To fix it, just reverse the polarity. Simply disconnect the connectors and connect them in the opposite order than it was previously connected.
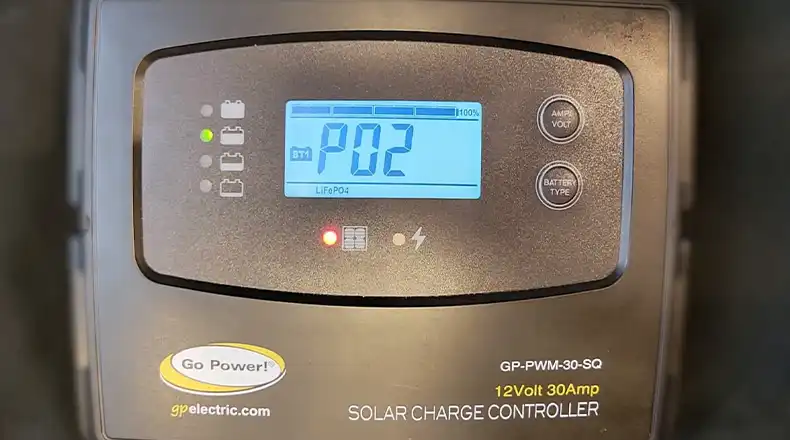
2. PO 2 Error Code
While the PO 1 code indicates a reverse polarity, a PO 2 code indicates that the solar voltage coming into the Go Power solar charge controller is over the allowed limit, which is 26.5 volts. Your Go Power cannot handle more than 26.5v.
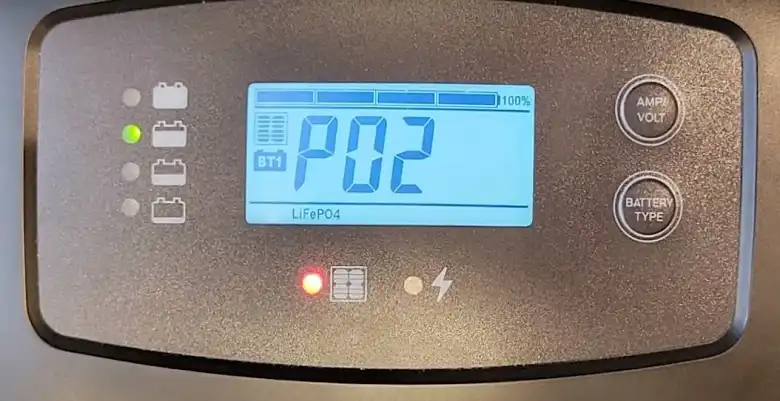
To check if that’s the case, again use a multimeter to check the voltage output of the solar panel. If your solar panel or panels produce more amps than the controller can handle, you can do one of two things. Either upgrade your solar charge controller or reconfigure your solar array.
How to Fix
Before you upgrade your solar charge controller, first check your panel wiring to make sure the panels are not wired incorrectly. An incorrect wiring can effectively increase the voltage to the solar controller, leading to the PO 2 error code.
3. BO 1 Error Code
Your Go Power solar charge controller requires power from the battery to function. However, when it detects a low voltage at the solar controller, it will show a BO 1 error code.
First, check if your solar batteries are fully charged. With a low charge in the solar batteries, it is normal to get the BO 1 error code. Also, when the batteries have quite a lot of wear and tear on them, they can’t charge to their full potential.
However, if the batteries are in perfect condition and now low on charge, but still the B0 1 error is showing then there could be a wiring issue.
How to Fix
If it is indeed a wiring issue and your solar batteries are fine, then do the following to remedy the issue. Check your battery and terminal block connections to ensure they are properly connected. If your wiring is good, the next step is to determine if you have 12 volts at the controller.
Using a multimeter, measure the input from the battery directly on the back of the controller. If there is no voltage, the inline fuse on the positive solar line could be blown. Check it and replace it if necessary.
Performing a Hard Reset
If you complete these steps and your controller is still showing the error, perform a hard reset. To do so first dismount it from the RV wall. Then, disconnect or unscrew the positive and negative ports for both the solar panel and battery. This will leave your solar controller completely disconnected from your panel and battery. Wait for 45 minutes before reconnecting the four ports, and make sure the wires do not come into contact with each other while waiting.
4. BO 2 Error
A B02 error indicates a polarity reverse error from the battery. It means that the negative wire has been applied to the positive post of the controller and the positive wire has been applied to the negative post.
How to Fix
Ensure the wires are in the correct position, which is normally red wire to positive and black to negative. However, sometimes the installer may add other wire colors.
If this is the case, you will need to determine where the reverse polarity issue is using a multimeter. This will allow you to see which wire is positive and which wire is negative. A negative voltage will indicate a reverse polarity.
5. B0 3 Error Code
While the BO 1 error code indicates low voltage in the battery, the B0 3 error indicates an overcharging issue in the battery. Before attempting any fix, first measure the battery’s voltage with a multimeter.
How to Fix
If your batteries measure as overcharged, which depends on the battery chemistry, then a charging source is putting too much current into the battery. Now you need to determine which source is causing overcharge to the battery and fix it.
It could be the solar controller the alternator or the converter charger. Check on the back of the controller with a multimeter to confirm the charging sources. If it has been wired incorrectly, swap the wires to the correct position.
Frequently Asked Questions and Answers – FAQs
How do I reset my solar charge controller?
Refer to the Go Power solar charge controller reset method described above. For other models, just disconnect the fuse or circuit between the panel and the controller and connect it after a few minutes. It’s best to perform the process when the panels aren’t producing electricity.
Why is my solar controller flashing?
Most of the time, a flashing solar controller indicates low voltage and wiring errors. Refer to the above troubleshooting to learn how to fix it.
Final Words
Troubleshooting the Go Power solar charge controller is easy, for the most part. And other than a multimeter, it doesn’t require any special tool as well. Usually, fixing polarity issues fixes most of the issues. However, if your batteries are worn out and you see error codes all the time, change your batteries as soon as you can.
Thanks for reading!