Convert Low Voltage Landscape Lighting to Solar | How to Do
Low-voltage landscape lighting is a popular choice for homeowners because it is relatively inexpensive to install and maintain. However, it can also be costly to operate, especially if you have a lot of lights or live in an area with high electricity rates.
Solar landscape lighting is a great way to reduce your energy costs and make your home more sustainable. Solar lights are powered by the sun, so they don’t require any electricity to operate. This can save you a significant amount of money on your energy bills over time.
Steps for Converting Low Voltage Landscape Lighting to Solar
Before we go into converting your low-voltage landscape lighting to solar, let’s talk about the gear you’ll need. It’s essential to be prepared to make the transition smooth and efficient. Here are the key components you’ll require:
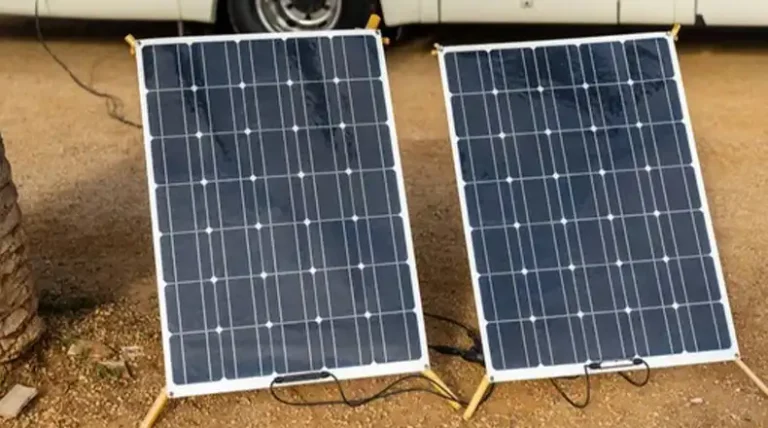
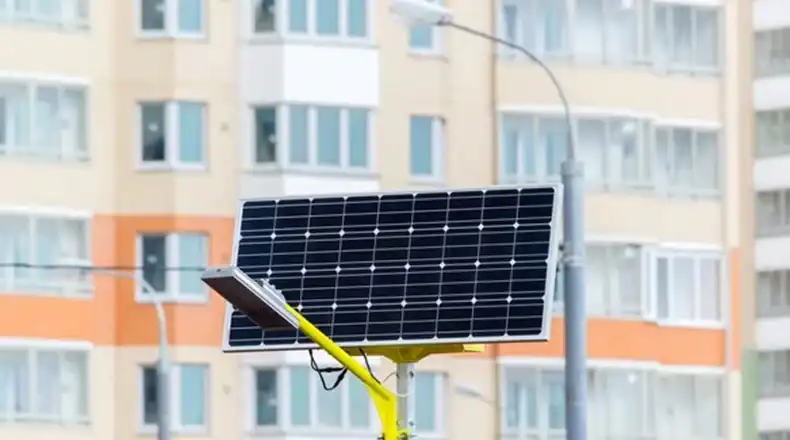
Solar Panels
Solar panels are the heart of any solar lighting system. They collect sunlight and convert it into electricity, which is stored for later use. You can choose between separate solar panels or integrated solar modules, depending on your landscape’s requirements.
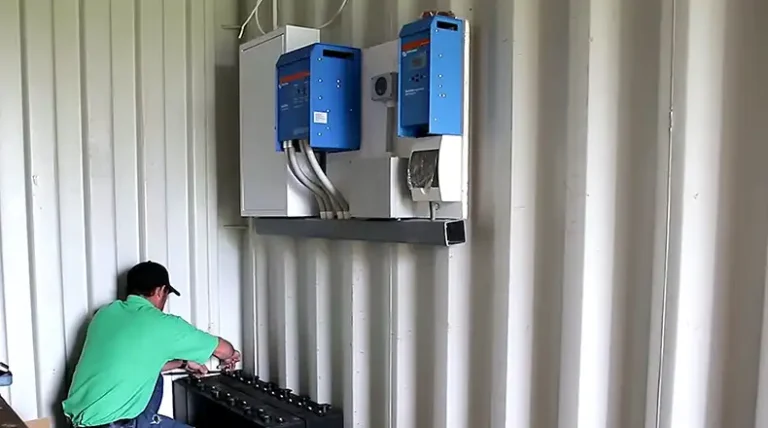
Batteries
To ensure your landscape lighting continues to shine even when the sun takes a break, you’ll need a good-quality battery. These batteries store the solar energy collected during the day and provide power to your lights during the night.
LED Bulbs
LED bulbs are energy-efficient and have a longer lifespan compared to traditional incandescent bulbs. They come in various styles and color temperatures, allowing you to customize your lighting.
Solar Charge Controller
This nifty device regulates the voltage and current coming from the solar panels to the batteries. It ensures your batteries don’t get overcharged and extends their life.
Wiring and Connectors
You’ll need wiring to connect all the components together. Ensure you have waterproof connectors to prevent any moisture damage.
Mounting Hardware
Depending on your landscape and lighting design, you may need mounting hardware to secure the solar panels and lights in place.
Now that you have your equipment in order, let’s embark on the journey of transforming your landscape lighting into a solar-powered marvel. Follow these steps:
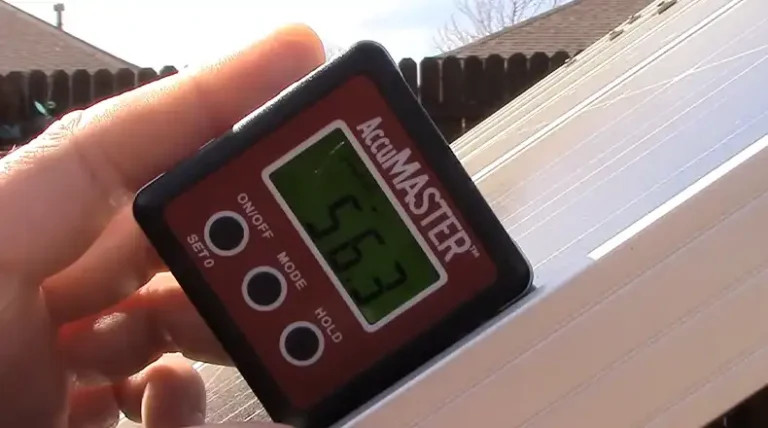
Step 1 – Determine the size of your solar panel
The size of your solar panel will depend on the number of lights you have and the amount of sunlight your area receives. You can use a solar calculator to help you determine the right size solar panel for your needs.
Step 2 – Choose a charge controller
A charge controller is necessary to protect your battery bank from overcharging. When choosing a charge controller, make sure it is compatible with the voltage of your solar panel and battery bank.
Step 3 – Size your battery bank
The size of your battery bank will depend on the number of lights you have and the amount of time you want them to stay lit at night. You can use a battery calculator to help you determine the right size battery bank for your needs.
Step 4 – Connect the components
Once you have all of your components, it’s time to connect them.
- Connect the solar panel to the charge controller.
- Connect the charge controller to the battery bank.
- Connect the battery bank to the low-voltage landscape lights.
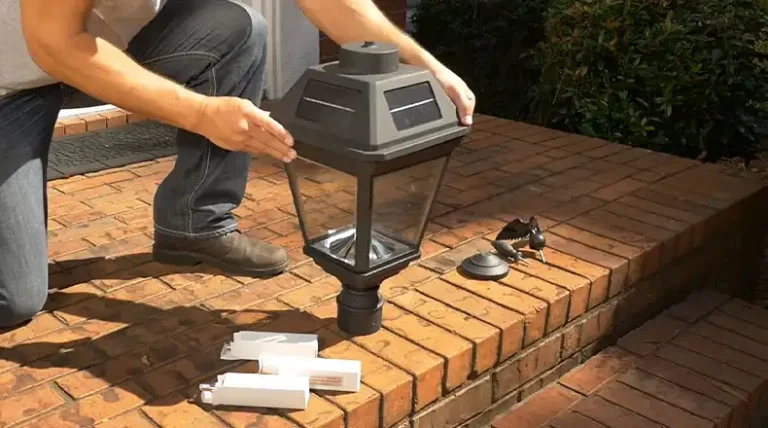
- Install the components
Once the components are connected, you can install them in your landscape.
- Place the solar panel(s) in a sunny location.
- Place the battery bank in a cool, dry location.
- Install the low-voltage landscape lights in your desired locations.
Once the components are installed, your solar landscape lighting system is ready to use!
Tips for Operating Solar Landscape Lighting System
Following these tips can help you to ensure that your solar landscape lighting system operates safely and efficiently for many years to come.
If you have a large number of lights, you may need to connect them to the battery bank using multiple circuits
This is because a single circuit may not be able to handle the load of all of the lights. By connecting the lights to multiple circuits, you can distribute the load evenly and prevent the circuits from overloading.
To connect the lights to multiple circuits, you will need to use a circuit breaker panel. The circuit breaker panel will allow you to connect each circuit to a separate circuit breaker. This will allow you to easily turn on and off each circuit individually.
You can use a timer to turn the lights on and off automatically.
This can be a convenient way to save energy and extend the life of your battery bank. You can set the timer to turn the lights on at dusk and off at dawn. This way, you will not have to worry about turning the lights on and off yourself.
To use a timer, simply connect it to the battery bank and the lights. Then, set the timer to turn the lights on and off at your desired times.
If you live in an area with cold winters, you may need to disconnect the battery bank from the system during the winter months to prevent it from freezing.
Most batteries are not designed to operate in cold temperatures. If you leave the battery bank connected to the system during the winter months, the battery may freeze and become damaged.
To disconnect the battery bank from the system, simply disconnect the wires that connect the battery bank to the solar panel(s) and the lights. You can then store the battery bank in a warm, dry place until the spring.
Final Thoughts
Converting your low-voltage landscape lighting to solar is a great way to save money on energy costs and make your home more sustainable. Solar lighting is also a more environmentally friendly option, as it does not rely on fossil fuels.
If you are considering converting your low-voltage landscape lighting to solar, be sure to do your research and choose the right equipment for your needs. With a little planning, you can easily convert your landscape lighting to solar and enjoy the benefits for years to come.
Questions You May Ask
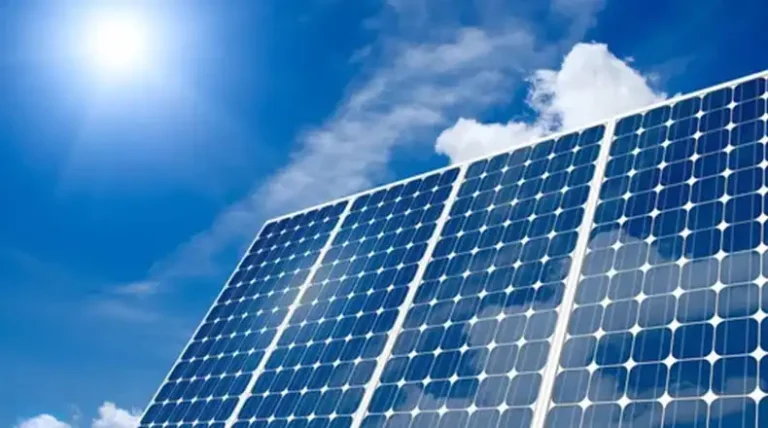
Q. Will solar landscape lighting work on cloudy days?
Yes, solar landscape lighting can work on cloudy days, though the intensity of the light may be reduced. High-quality solar panels and batteries can store enough energy to keep your lights running even during overcast weather.
Q. How long do solar landscape lighting systems last?
Solar landscape lighting systems typically last for 5 to 15 years, depending on the quality of the components and the care you take in maintaining them. LED bulbs, in particular, have a longer lifespan.
Q. Are there different types of solar landscape lights available?
Yes, there are various types of solar landscape lights, including path lights, spotlights, string lights, and decorative lights. Each serves a different purpose and can add a unique touch to your landscape.
Q. What is the initial cost of converting to solar landscape lighting?
The initial cost of converting to solar landscape lighting depends on the size of your landscape and the quality of the components you choose. On average, you can expect to spend anywhere from $100 to $500 per fixture, including the solar panels and batteries. However, the long-term savings on energy bills make it a worthwhile investment.