How to Convert a UPS Into an Inverter | Step-by-Step Guide
An inexpensive and sustainable alternative power source can be made by transforming a UPS into an inverter. This practical method comes in particularly handy for enhancing renewable energy systems and providing a constant power supply in unexpected circumstances.
We’ll go over the necessary tools, safety precautions, and technical details as we walk you through the conversion process step by step in this guide. This post is filled with helpful tips to guide you through this rewarding job, whether you’re a iseasoned DIY enthusiast or a novice to power systems.
But before we dive into the conversion process, let’s explore a bit of the differences between UPSs and inverters to lay the groundwork for a seamless conversion. Unleash the full potential of your UPS and get ready to take advantage of backup power capabilities like never before.
Understanding UPS and Inverter Systems
UPS (Continuous Power Supply) frameworks guarantee nonstop power supply amid blackouts, with moment control exchange to protect basic electronic loads. They depend on battery banks and offer consistent power conditioning.
Inverters, on the other hand, change over DC control from sources like batteries or solar panels into AC control for different applications. They come completely different sorts and are vital for off-grid setups and renewable vitality integration.
Technical differences:
- UPS: Fast power transfer, standby/online operation, essential objective of continuous control supply.
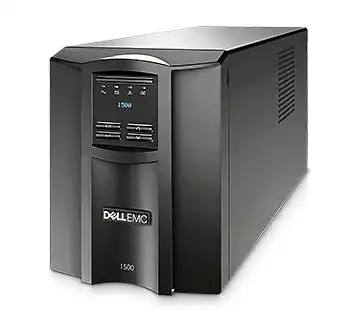
Image 1: UPS
- Inverters: Convert DC to AC control, differing applications, exchanging delay amid control exchange.

Image 2: Inverter
Understanding these contrasts empowers saddling a UPS’s covered up potential by changing over it into an inverter for emergency power and renewable vitality arrangements.
Step-by-Step UPS to Solar Inverter Conversion process
Changing over a UPS (Uninterruptible Control Supply) into a solar inverter can be a valuable DIY project to have reinforcement control amid power blackouts. In any case, it’s essential to note that adjusting electronic gadgets can be hazardous and may void guarantees or cause harm. Here could be a common step-by-step guide to convert a UPS into a solar inverter:
Materials Required
- UPS (Uninterruptible Power Supply)
- Screwdriver
- Wire stripper/cutter
- Inverter circuit
- Soldering iron and solder
- Electrical tape
- Multimeter
- DC Input Protection
- Battery Bank
- Solar Charge Controller
- Heat Dissipation Solutions
- Enclosure
- Mounting Hardware for Solar Panels
- PV Cables and Connectors
- Terminal Blocks or Connectors
- Instruction Manuals
- Ventilation and Safety Considerations
- Wire Management Supplies
Step 1: Dismantling the UPS
Utilize the screwdriver to open the UPS casing carefully. Most UPS units have screws on the bottom. Evacuate the screws and delicately open the casing, uncovering the inner components.
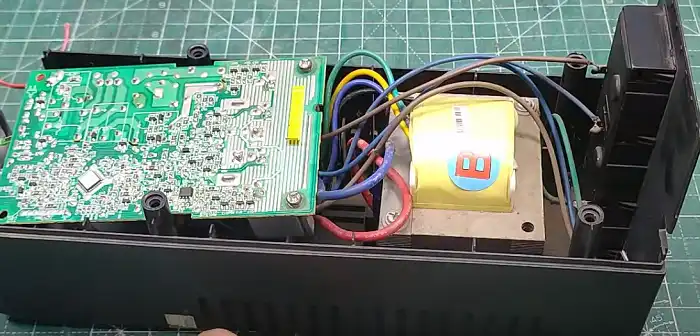
Image 3: Dismantling the UPS
Step 2: Identifying the DC Input
Find the DC input segment of the UPS. Usually where the UPS gets its power from an outside source when it’s plugged into the wall outlet.
Step 3: Detaching the Battery Charging Circuit
In case the UPS includes a built-in battery charging circuit, you might need to detach it to avoid overcharging the battery when utilizing it as an inverter. This step is discretionary, but it can avoid long-term battery damage. Refer to the UPS circuit diagram (if accessible) to discover and detach the charging circuit carefully.
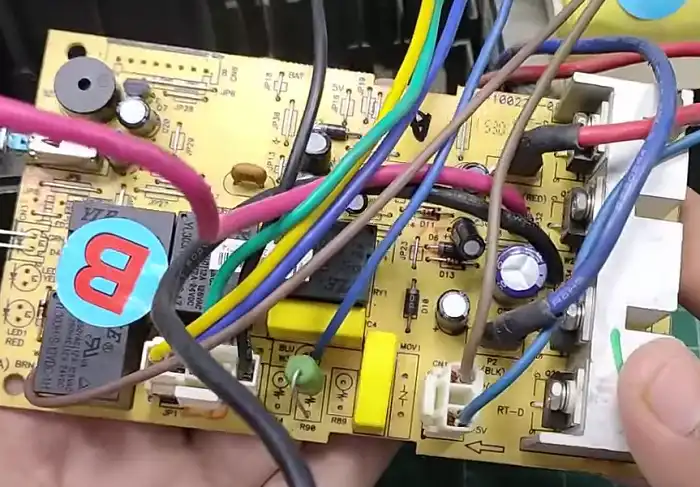
Image 4: Detaching the Battery Charging Circuit
Step 4: Bypassing the UPS Inverter Circuit
Find the inverter circuit inside the UPS. Typically, the portion that changes over DC control from the battery to AC control for your gadgets. You’ll have to bypass this circuit and replace it along with your isolated inverter circuit.
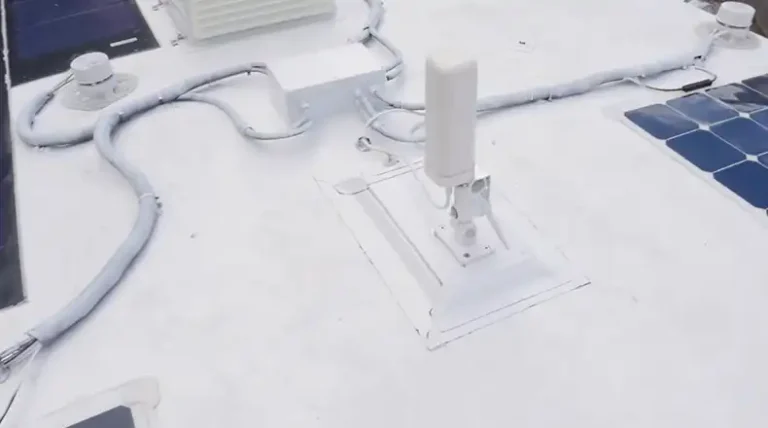
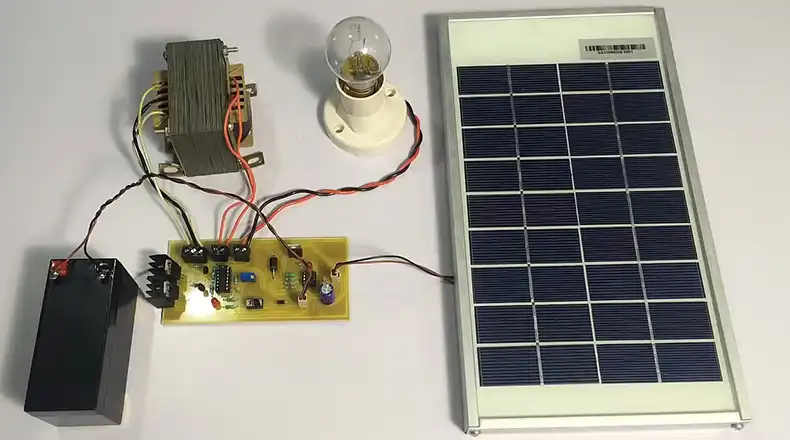
Step 5: Connecting the Solar Panel System
Integrate the solar panel system by connecting its output terminals to the DC input of the UPS. Connect the positive (+) terminal of the solar panel to the positive (+) terminal of the UPS, and the negative (-) terminal of the solar panel to the negative (-) terminal of the UPS.
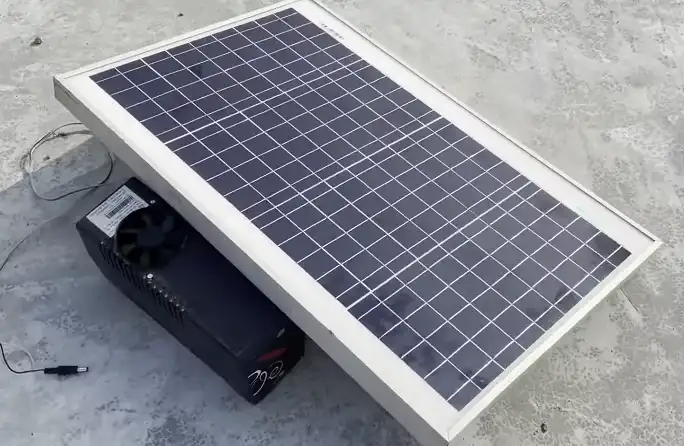
Image 5: Connecting the Solar Panel System
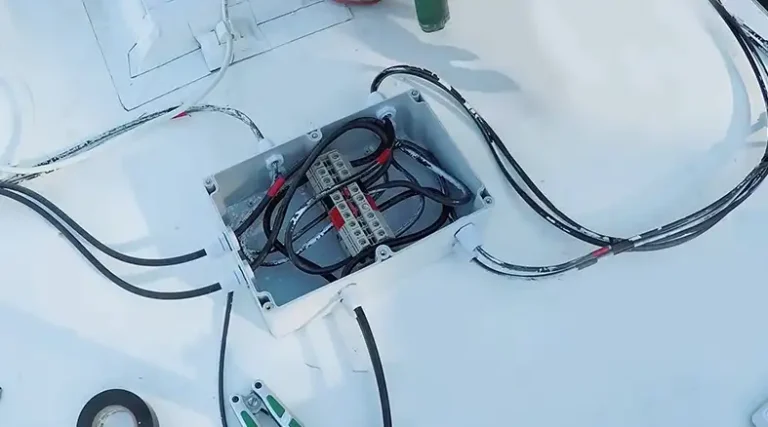
Step 6: Verifying Connections
Double-check all your connections to ensure they are secure and exact before proceeding. A loose or inaccurate connection may lead to damage or breakdown.
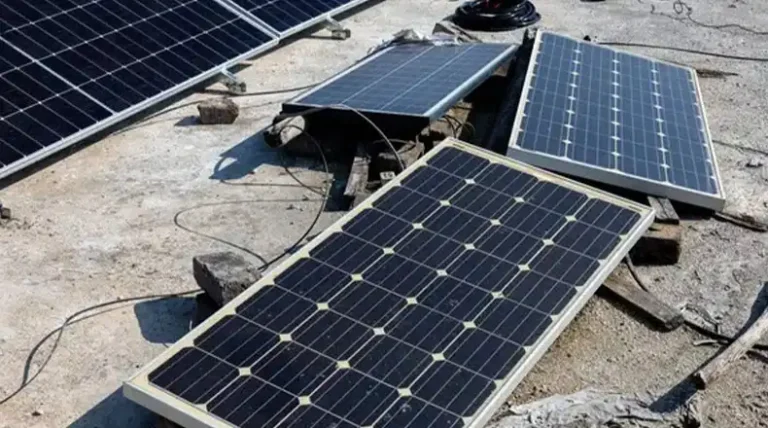
Step 7: Securing the Solar Inverter
Place the solar panel system in a suitable location where it can receive optimal sunlight exposure. You can mount the solar panels on a roof, a ground-mounted frame, or any other secure surface.
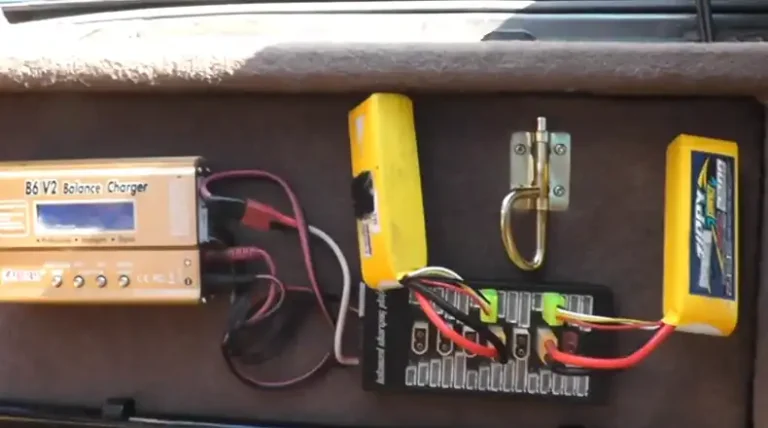
Step 8: Testing the Solar Inverter
With everything connected and secured, turn on the UPS and monitor whether it is successfully converting solar energy into usable AC power. You can connect a small electrical load to the output of the inverter to confirm its functionality.
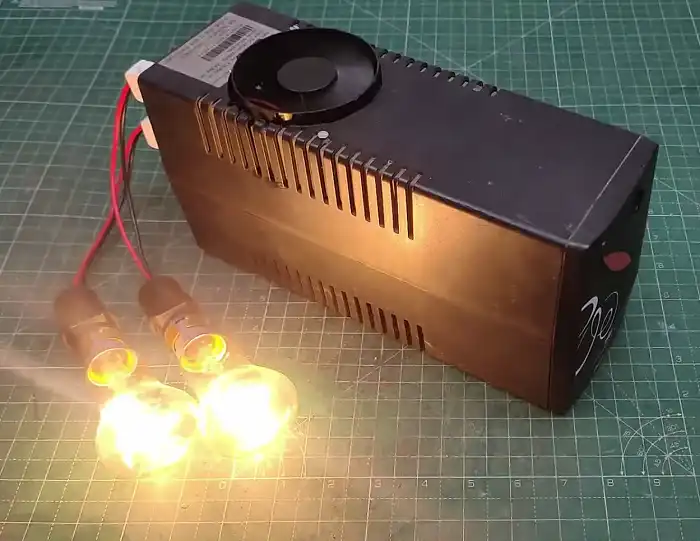
Image 6: Testing the solar inverter by applying small load
Step 9: Reassembling the UPS
In case everything is working as expected, and you’re satisfied with the setup, you can reassemble the UPS casing. Secure all the screws to hold the casing together.
Step 10: Security Checks
Double-check all your connections, and ensure there are no uncovered wires that might cause electric shocks or short circuits. Insulate any uncovered wires with electrical tape.
Step 11: Cautionary Notes
Remember that the converted UPS may not be as powerful or efficient as a purpose-built inverter. It might handle only lighter loads, depending on its specifications and the capacity of the battery utilized within the UPS.
Frequently Asked Questions and Answers (FAQs)
Can I use any UPS for this conversion?
Compatibility is significant when converting a UPS into an inverter. It depends on the UPS’s specifications and whether it is compatible with the external inverter circuit you plan to use. Always check the UPS’s specifications and circuit diagram before performing the conversion.
Can I use any external inverter circuit for this conversion?
The external inverter circuit ought to match the UPS’s specifications and voltage output. Mismatched voltages may harm the inverter or the connected devices.
Can I use solar panels to charge the UPS’s battery for prolonged backup?
Yes, it’s possible to coordinated solar panels with the UPS’s battery to charge it during daylight hours. In any case, this requires a solar charge controller to control the charging process appropriately and ensure the UPS’s battery doesn’t get overcharged or harmed. Counsel with solar energy specialists for a secure and effective solar integration setup.
Conclusion
Converting a UPS into a solar inverter offers backup power amid blackouts, but it includes dangers. Compatibility, load capacities, and understanding specifications are crucial. For low-power gadgets the DIY project can be cost-effective, but dedicated systems remain safer for basic applications.
![How Many Solar Panels for 3kVA Inverter? [Answered]](https://www.itekenergy.com/wp-content/uploads/2024/06/How-Many-Solar-Panels-for-3kVA-Inverter-768x428.webp)