Solar Powered Heat Tapes | Usage and Installation Guide
When winter approaches, one of the biggest concerns for homeowners and businesses is preventing water pipes from freezing. Frozen pipes can burst, leading to costly repairs and water damage. Traditionally, electric heat tapes have been used to keep pipes warm and prevent freezing. However, these tapes consume a significant amount of electricity, resulting in high energy bills and a larger carbon footprint.
An effective solution to these problems can be solar-powered heat taps, an eco-friendly and cost-effective alternative to traditional electric heat tapes. These innovative systems use the power of the sun to generate electricity, which is then used to warm pipes or melt snow on roofs. By utilizing renewable energy, solar heat tapes not only save you money on electricity bills but also contribute to a more sustainable future.
How Solar-Powered Heat Tape Systems Work
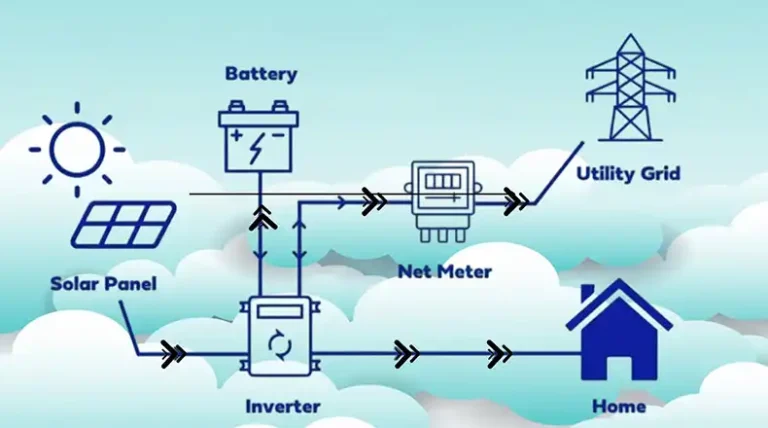
A solar-powered heat tape system comprises several key components working together to provide efficient and reliable heating. First, there are solar panels. These panels convert sunlight into electrical energy, which is then used to power the heat tape system.
The energy generated by the solar panels is stored in a battery bank. This stored energy is used to power the heat tape system during periods of low sunlight or at night. Battery sizing is crucial to ensure uninterrupted operation.
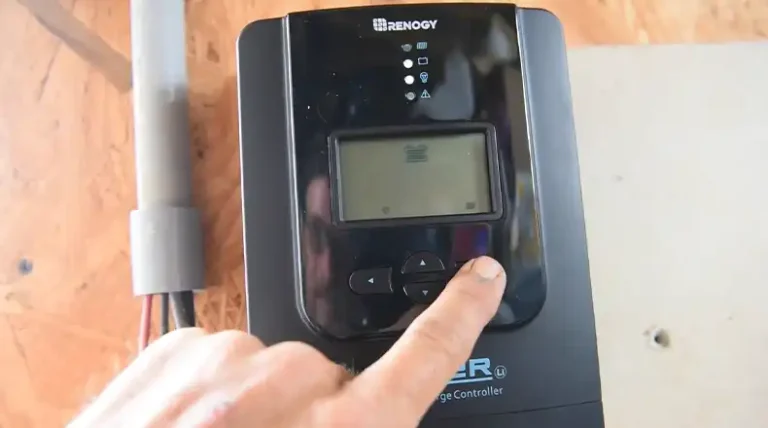
Then there’s the thermostat, which acts as the brain of the system, monitoring the temperature and activating the heat tape when necessary. Advanced thermostats allow you to set temperature thresholds and schedules for optimal performance.
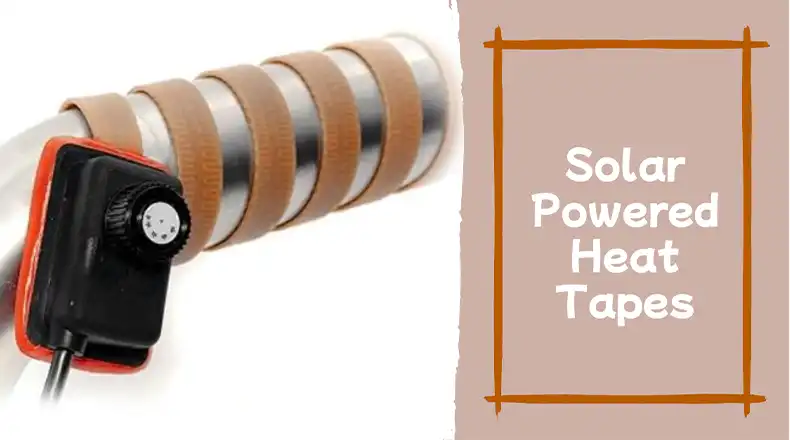
The heat tape itself is a cable or tape that generates heat when electricity flows through it. Different types of heat tapes are available, including self-regulating and non-self-regulating varieties, with varying wattages and lengths to suit different applications.
Here’s how a solar heat tape system works: The solar panel(s) convert sunlight into electrical energy, which is stored in the battery bank. When the thermostat detects temperatures below a set threshold, it activates the heat tape, drawing power from the battery bank. The heat tape then warms the pipes or roof, preventing freezing or melting snow.
How to Calculate for the Right Solar Heat Tape System
Choosing the appropriate solar heat tape system for your needs is crucial to ensure optimal performance and cost-effectiveness. Here are some key factors to consider:
- Assess Your Needs: Determine the length of pipes or the roof area that needs to be heated. Consider the climate conditions in your area, including the average temperature range and sunlight hours.
- Calculate Heat Tape Requirements: Based on your pipe sizes, insulation levels, and the desired temperature range, calculate the length and wattage of heat tape required. Manufacturers often provide calculators or guidelines to assist with this process.
- Size the Solar Panel Array and Battery Bank: The size of the solar panel array and battery bank will depend on the heat tape’s power requirements, as well as the available sunlight hours in your area. Consult with a solar professional or refer to manufacturer guidelines for accurate sizing.
- Compare Product Options: Research reputable manufacturers and compare product specifications, warranties, and pricing. Look for systems specifically designed for your climate and intended application.
- Consider Long-Term Costs and Return on Investment: While the upfront cost of a solar heat tape system may be higher than traditional electric alternatives, the long-term savings on electricity bills and potential government incentives or rebates can make it a wise investment.
What Are the Applications of Solar-Powered Heat Tapes
Solar powered heat tapes have a wide range of applications,. Their primary use is likely to be for preventing pipe freezing during the winter months. Here’s how you can effectively utilize solar heat tapes for this purpose:
Pipe Freeze Protection
Wrap the heat tape around the pipes that are most susceptible to freezing, such as those located in unheated areas or exposed to harsh weather conditions. Ensure proper insulation is applied over the heat tape for maximum efficiency.
Roof Snowmelt Systems
In regions where heavy snowfall is common, solar heat tapes can be installed on roofs to prevent the formation of ice dams and protect the roof from water damage. However, this application may not be as relevant in all climates.
While pipe freeze protection is the primary focus, solar heat tapes can also be used for other applications, such as greenhouses (to maintain optimal temperatures for plant growth) or aquariums (to regulate water temperature).
How to Install Solar Heat Taps: Step-by-Step
Installing a solar-powered heat tape system may seem daunting, but with proper planning and the right tools, it can be a straightforward process. Here’s a step-by-step guide to help you get started:
Step #1: Gather Tools and Materials
Assemble the necessary tools, including wire cutters, screwdrivers, and any other equipment specified by the manufacturer. Ensure you have the correct length and type of heat tape, as well as the required solar panel(s), battery bank, and thermostat.
Step #2: Site Preparation
Inspect the installation area and clear any obstructions or debris that may interfere with the solar panel placement or heat tape routing.
Step #3: Mount the Solar Panel(s)
Position the solar panel(s) in an area that receives maximum sunlight exposure throughout the day. Secure the panel(s) using the provided mounting hardware, ensuring they are oriented towards the sun for optimal energy production.
Step #4: Install the Battery Bank
Following the manufacturer’s instructions, properly connect the battery bank to the solar panel(s) and ensure it is securely mounted in a protected area.
Step #5: Lay Out and Secure the Heat Tape
Carefully route the heat tape along the pipes or roof areas that require heating. Use cable ties or mounting clips to secure the tape in place, ensuring it makes good contact with the surface.
Step #6: Connect the Heat Tape to the Thermostat/Controller
Follow the manufacturer’s wiring instructions to connect the heat tape to the thermostat or controller. Ensure all connections are secure and properly insulated.
Step #7: Program the Thermostat
Set the desired temperature thresholds and schedules on the thermostat or controller. Refer to the manufacturer’s guidelines for optimal settings based on your location and application.
Step #8: Test and Verify System Operation
Once all components are connected, turn on the system and verify that the heat tape is functioning correctly. Monitor the temperature and make any necessary adjustments.
Step #9: Insulate and Weatherproof Connections
Apply appropriate insulation over the heat tape and weatherproof any exposed connections to protect them from the elements and ensure optimal performance.
Step #10: Maintain the System
Regularly clean the solar panels to ensure maximum energy production, and check the battery bank’s health periodically. Follow the manufacturer’s recommendations for routine maintenance and component replacements.
How to Troubleshoot Solar Heat Tapes
If you encounter any issues with your solar heat tape system, here are some common troubleshooting steps:
- Heat Tape Not Activating: Check the thermostat settings, ensure the battery bank is charged, and inspect all connections for proper wiring.
- System Underperforming: Ensure the solar panel(s) are clean and free from obstructions, and verify that the heat tape is properly insulated. Adjust the thermostat settings or consider upgrading to a larger system if necessary.
- Battery Bank Issues: If the battery bank is not holding a charge or displaying signs of degradation, it may need to be replaced. Consult the manufacturer’s guidelines for recommended replacement intervals and compatible battery types.
In cases of complex installations or persistent issues, it’s always advisable to seek professional
Summing Up
Solar-powered heat tapes offer a sustainable and cost-effective solution for preventing pipe freezing and maintaining safe temperatures. By harnessing the power of the sun, these innovative systems not only save you money on energy bills but also contribute to a greener future.
If you’re ready to take advantage of this technology, consider purchasing a solar powered heat tape kit from a reputable manufacturer or contacting a local professional for installation assistance. Explore online resources, such as manufacturer websites and forums, to gather additional information and seek guidance from experienced users.
Frequently Asked Questions (FAQ)
How long do solar powered heat tapes last?
The lifespan of solar heat tapes can vary depending on the quality of the product and the installation conditions. On average, most solar heat tapes have a lifespan of 5-10 years, with proper maintenance and care. However, it’s essential to follow the manufacturer’s guidelines and replace components as recommended.
Can solar heat tapes be used for other applications besides pipe freeze protection?
Yes, solar heat tapes can be used for a variety of applications, including roof snowmelt systems, greenhouse heating, and aquarium temperature regulation. However, the installation and sizing requirements may vary depending on the specific application.
How do I determine the correct length and wattage of heat tape needed?
The length and wattage of the heat tape required will depend on factors such as the pipe size, insulation levels, and desired temperature range. Most manufacturers provide calculators or guidelines to help you determine the appropriate heat tape specifications based on your specific needs.
Can solar heat tapes be used in conjunction with traditional electric heat tapes?
Yes, it is possible to use solar heat tapes in combination with traditional electric heat tapes, creating a hybrid system. This approach can provide additional heating capacity or serve as a backup in case of prolonged periods of low sunlight. However, proper system design and integration are crucial to ensure safe and efficient operation.
How often should I clean the solar panels?
It’s recommended to clean the solar panels at least twice a year, or more frequently if they accumulate excessive dirt, dust, or debris. Regular cleaning ensures optimal energy production and prevents a decrease in system performance.

